Back to Workshop
Read Time: ~10 minutes
Introduction
Hello, and welcome to Tools of the Trade: Part 2! I’m your host, ChriSekaiCosplay. Hopefully, if you are reading this, you just came from reading Part 1 of this workshop!
If you missed Tools of the Trade: Part 1, it’s right here!
In this second part, we’ll be walking through the basic tools you’ll need to finish building your prop, and then, finish the prop. “Finishing building” and “finishing a prop” are two very different things!
We are going to :
- Break down the tools you need to assemble and finish a prop.
- Introduce the basic tools you will need to do so.
- Give recommendations for tools on Amazon* (budget-friendly!)
- Introduce handy “Extras” to make your crating life easier!
*Amazon links are Affiliate links and I might receive a commission if you buy a product. A girl’s gotta make money somehow! 😉
Alright, let’s finish this thing!
Gluing It All Together
You are going to need a way to stick one thing to another thing and have it stay. Which adhesive you use will depend on which material you are using, but here are some general adhesives to choose from!
- Hot Glue + Glue Gun
- Give a cosplayer a hot glue gun and they will move mountains!
- Seriously, this is a staple for any crafter’s arsenal.
- Hot glue works best when you need to quickly attach one small stationary thing to another stationary thing, with maybe a couple seconds of wiggle room for placing it. If the thing will be moving around a lot or the connection will be under pressure, hot glue is not very adaptable and will not be able to hold as well.
- Because hot glue is a heated plastic which solidifies as it cools, be careful with wearing props held together with hot glue. Your body generates heat and could potentially cause your glue to melt and lose its hold. Long exposure to direct sunlight or warm storage conditions can do the same.
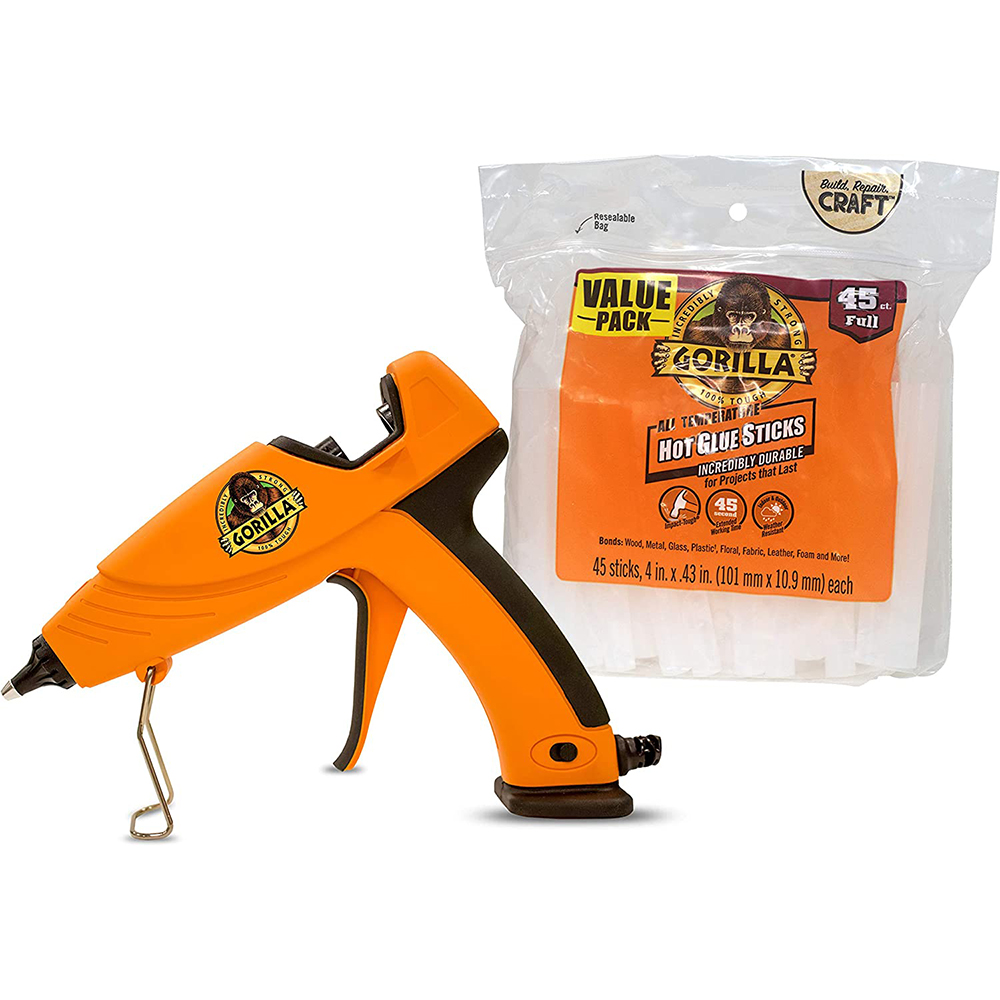 Dual-Temp Full-Size Glue Gun
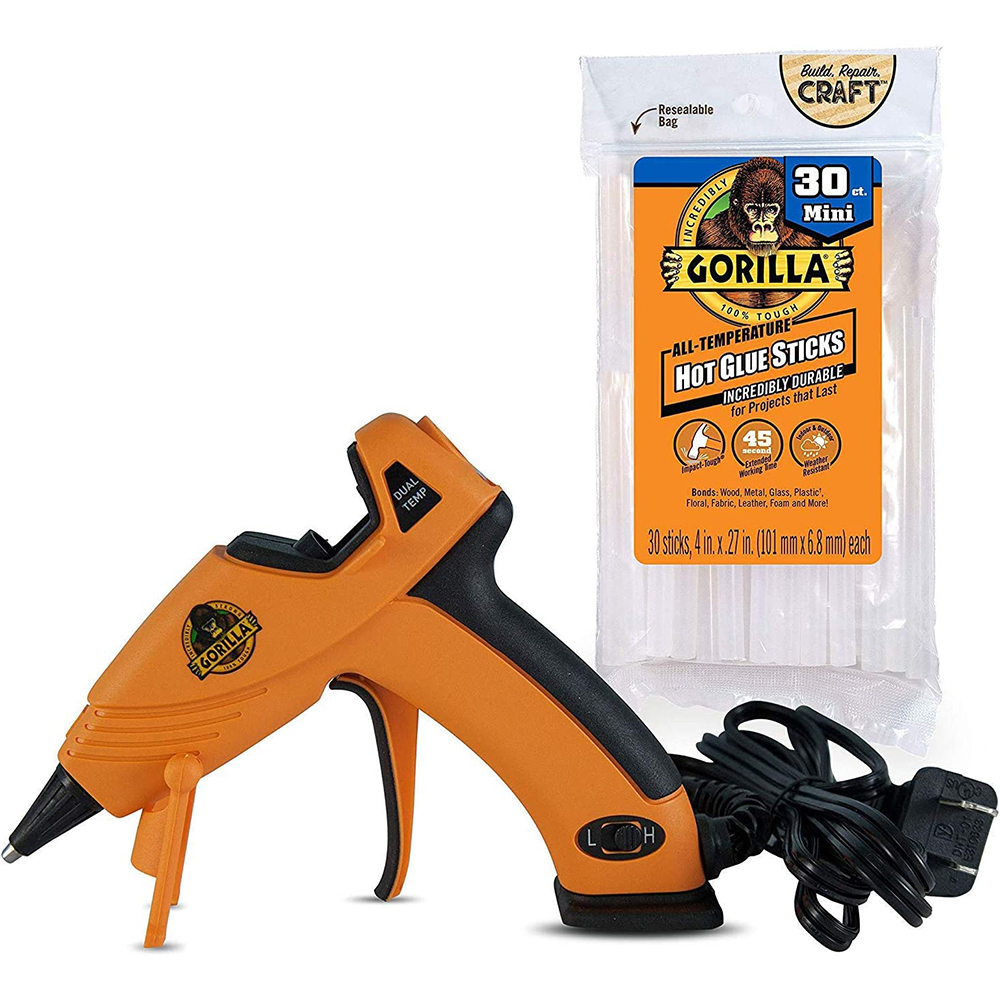 Dual-Temp Mini Glue Gun
 Fancier Cordless Mini Glue Gun
- Contact Cement
- Contact cement works best when you need to attach two pieces together that need to be able to move and/or be worn. For example, foam armor. This works great for EVA foam, plastics, rubber, metal, leather, etc., and can easily be spread across large surfaces.
- Apply a thin layer of contact cement to both pieces being attached, give it a few minutes to become tacky, then carefully press the pieces together.
- Be very careful when attaching pieces: once one side touches another, it is not moving.
- Press firmly together and give it time to fully cure.
- When working with contact cement make sure your workspace is properly ventilated as the fumes are rather strong.
 Barge – All-Purpose Cement
- Super Glue
- Super glue works best for strong and fast repairs. It can withstand high temperatures, moisture, and can be used with metal, plastics, leather, foam, paper, and pretty much anything!
- I usually have a bottle of super glue lying around in case I need something attached somewhere without needing to wait for the hot glue gun to heat up.
- Very strong bond, but usually comes in small bottles and cannot easily cover large areas.
- Scotch Tape
- Great for taping together pieces of patterns or anything lightweight or paper!
- Painter’s Tape
- Great for taping off areas before painting or spraying!
- Also great for temporary attachments, like taping a pattern to foam while you trace it.
- Duct Tape
- Great for taping a variety of surfaces as well as for sealing!
- Velcro
- Useful for making armor or pieces that need to attach & detach easily!
Just a Little More!
With these tools, you have the basic tools needed to build pretty much anything your heart desires!
Now, you could pat yourself on the back and call it a day. Your build will look really cool!
However, the following tools will make your builds look even cooler, and offer a bit more protection for your work!
Something to Sand With (Optional)
I got a bit carried away and wrote an entirely separate Workshop regarding sandpaper and sanding your props! I will give the SparkNotes version below, but if you’d like to read the full version (~10 minute read) you can find it here.
You do not HAVE TO sand your props. However, if your build has uneven surfaces, some rough edges or bevels, or material that doesn’t like to be painted, you will greatly benefit from sanding!
Sandpaper is usually pretty cheap, and you can find assorted bundles online!
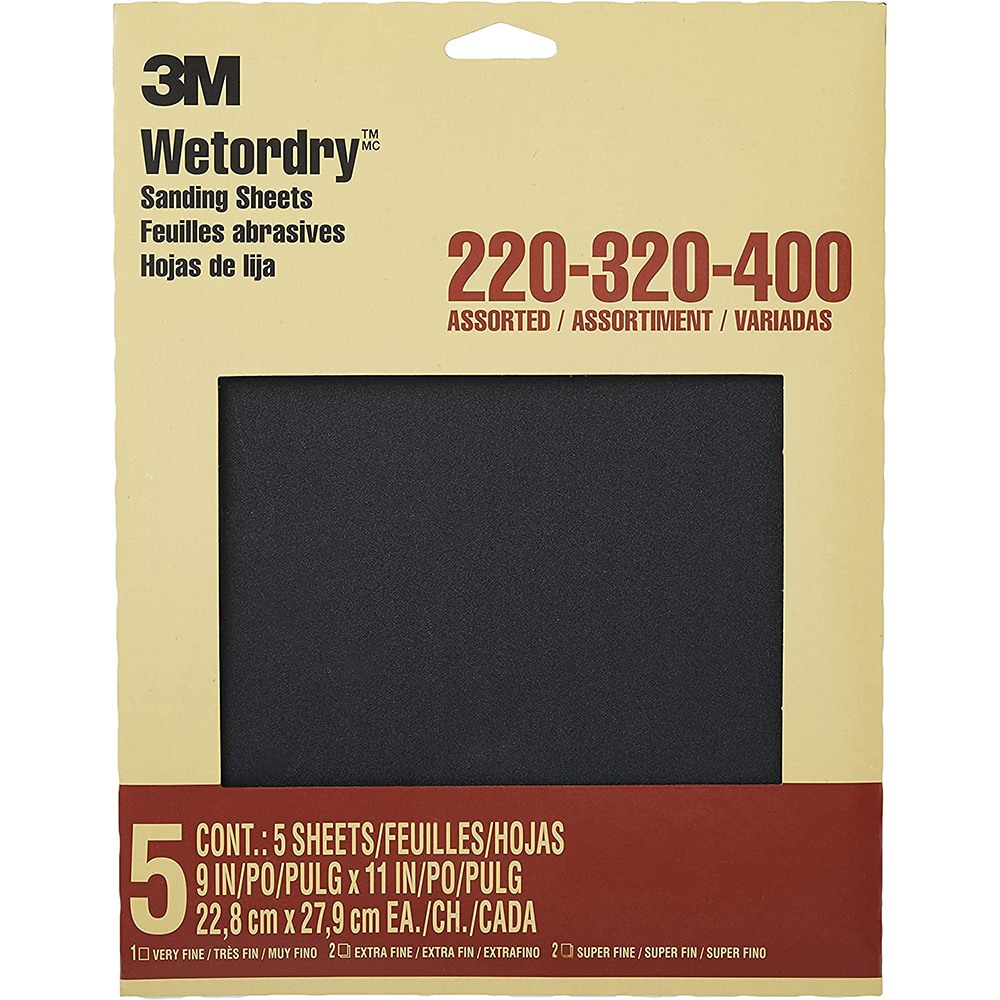 5-pack (grits: 220, 320, 400)
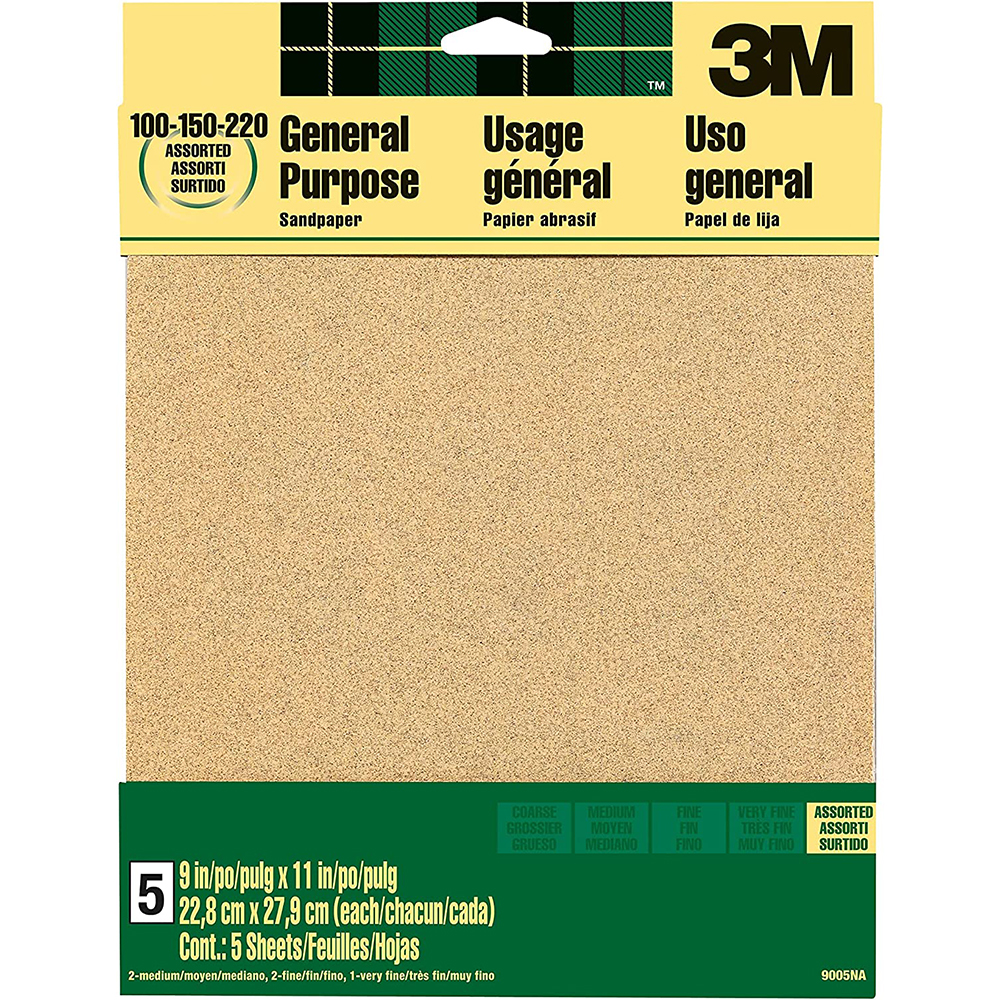 5-pack (grits: 100, 150, 220)
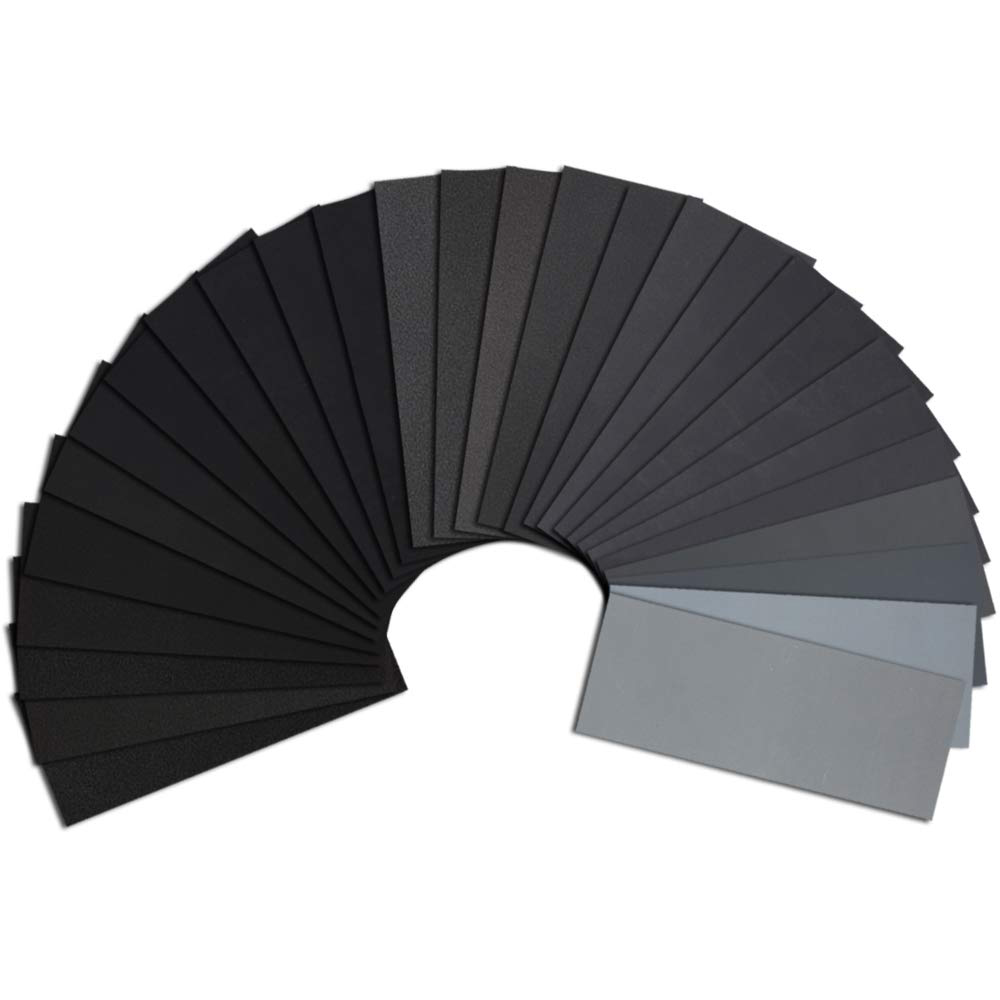 45-pack (grits: 120-5000)
If you are just starting out, I recommend having a Coarse, a Medium and a Fine sandpaper sheet in your tools arsenal. You don’t need to collect all the different grits!
Something to Seal With (Optional)
Are you looking to bring your build to a convention, a photo shoot, or just outside in general? You might want to consider sealing it! Sealing provides better resistance to weather and water, and can also help prime a surface before painting!
- Plastidip / Flexidip
- Aerosol spray rubber-coating.
- Apply 2-3 layers in thick coats.
- Toxic: use in a well-ventilated space or outdoors with eyewear, respirator, and gloves!
- Can be tricky to purchase online in some places, you might find some at your local hardware or car shop!
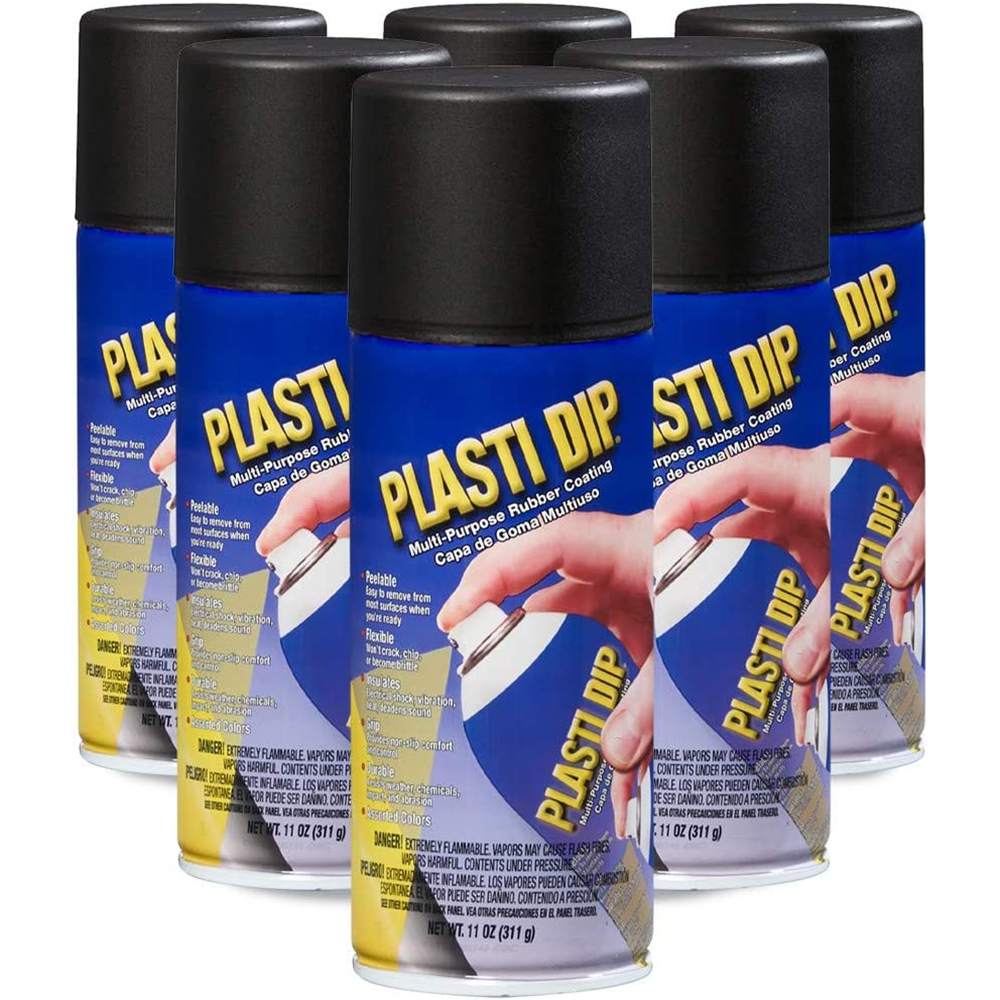 Plastidip (6-pack)
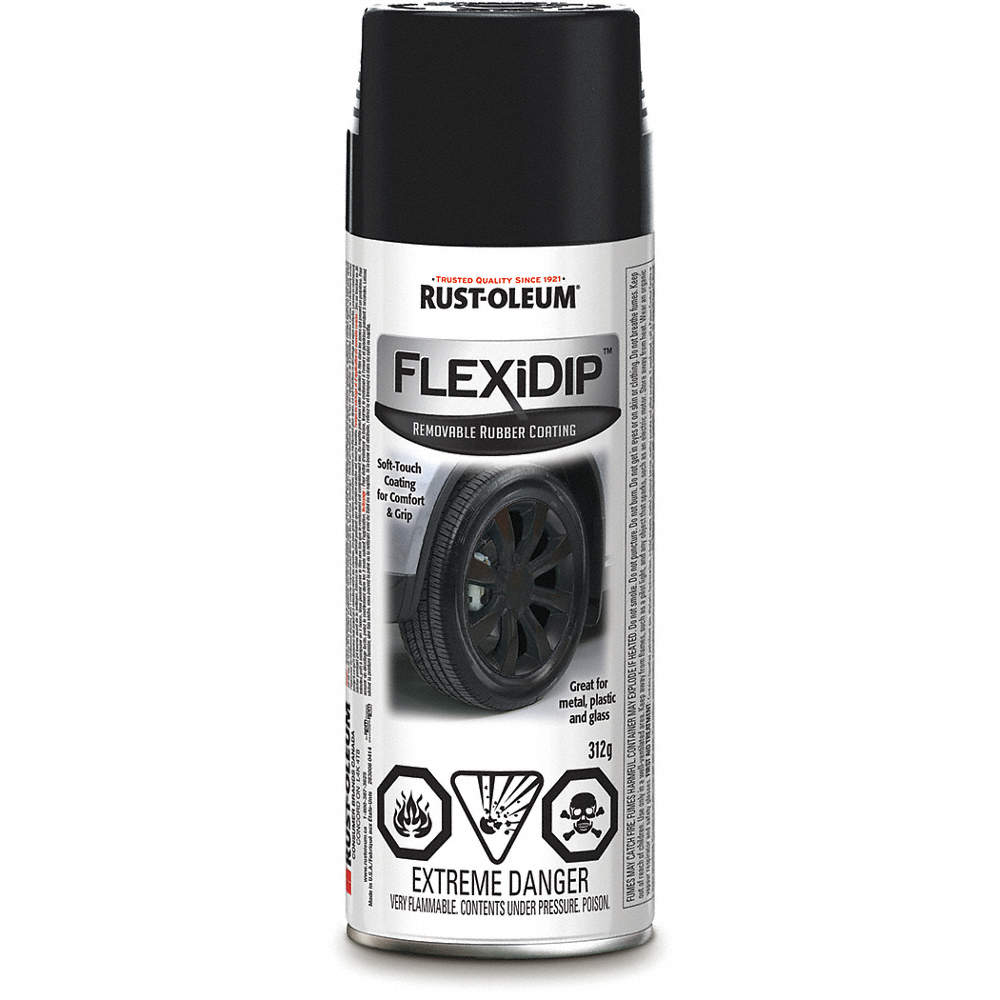 Flexidip
- Other Non-Toxic Sealants
- Adhesives that don’t crack and break when bent.
- Apply 2-3 layers with brush.
- Non-toxic! Use eyewear and gloves, and still ventilate your space for the odor.
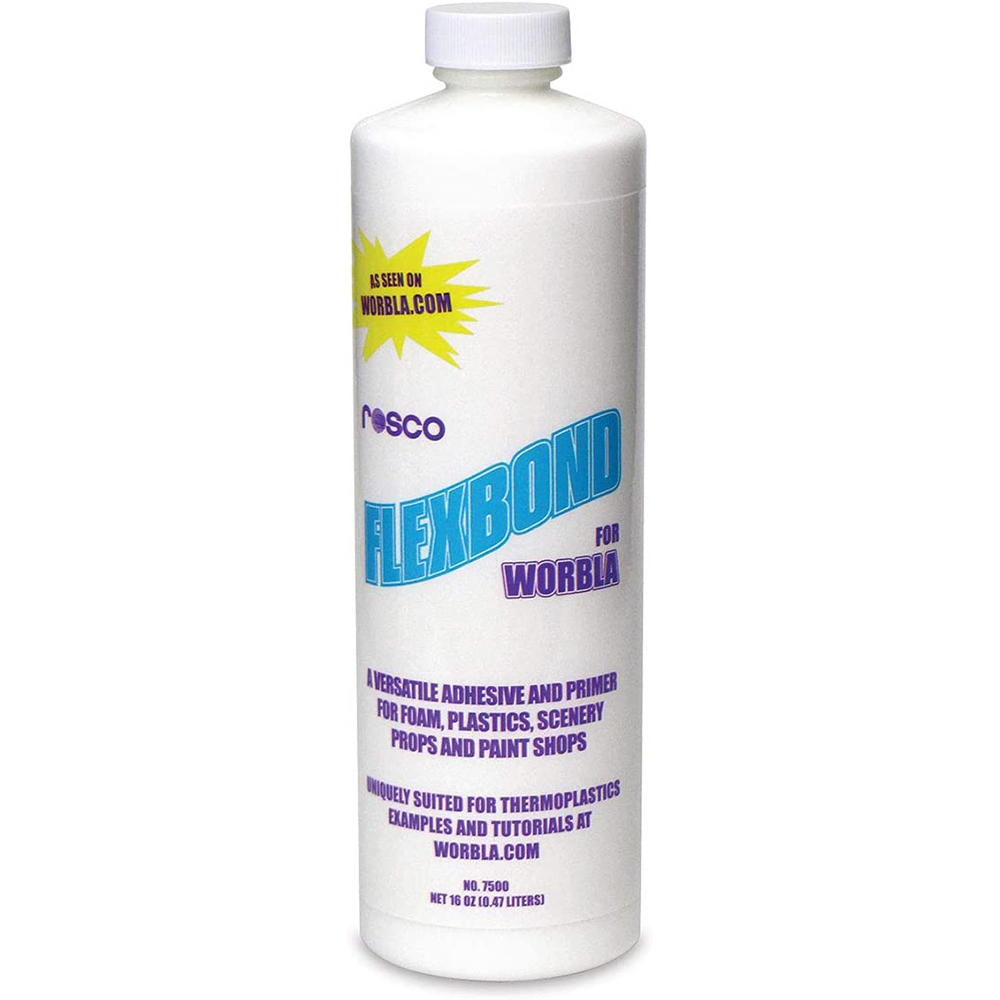 Flexbond
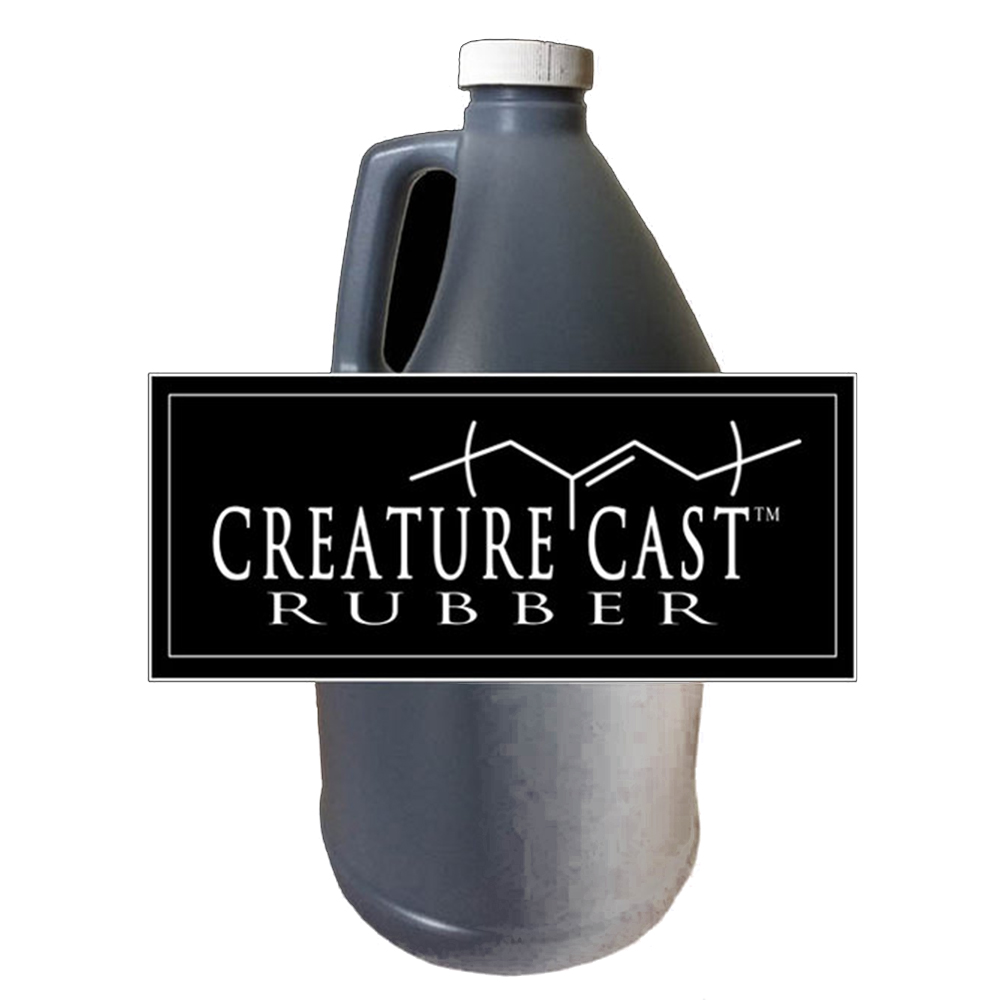 Creature Cast Liquid Rubber
Something to Prime and Paint With
Whether or not you choose to sand and seal your build, you DEFINITELY want to paint it! The type of paint you use will depend on what sort of material you used to build it.
- Spray Paints
- Aerosol spray
- Can double as a paint + primer to add acrylics onto!
- Apply 2-3 thin layers for a vibrant color
- Moderate to low selection of colors (depending on your nearby stores)
- Toxic: use in a well-ventilated space or outdoors with eyewear, respirator, and gloves!
- Acrylic Paints
- Water-based paint
- Apply 2-3 layers (primed) or 4-5 layers (unprimed) for a vibrant color
- Huge selection of colors!
- Non-toxic: Use in a well-ventilated space for odor.
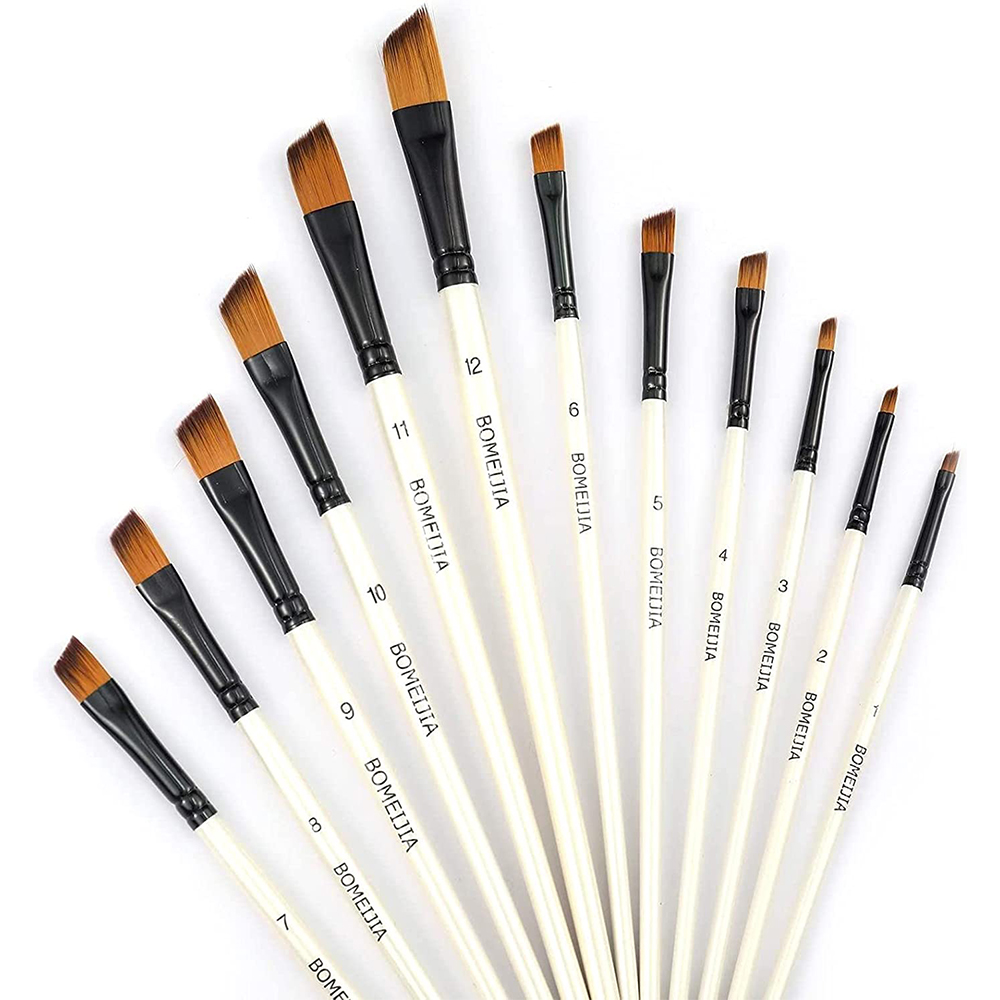 Set of Paint Brushes
 Large Brushes
- Airbrush
- Aerosol tool that can spray your paints!
- Can work with airbrush paints or watered-down acrylics
- Apply 2-3 thin layers for a vibrant color
- Huge selection of colors!
- Toxic: use in a well-ventilated space or outdoors with eyewear, respirator, and gloves!
- A bit pricier to get started, and requires learning a new tool.
Apply a clear sealant after painting to help enhance and preserve your paint job!
- Sealants / Enamel Sprays
- Glossy – high shine
- Matte – no shine
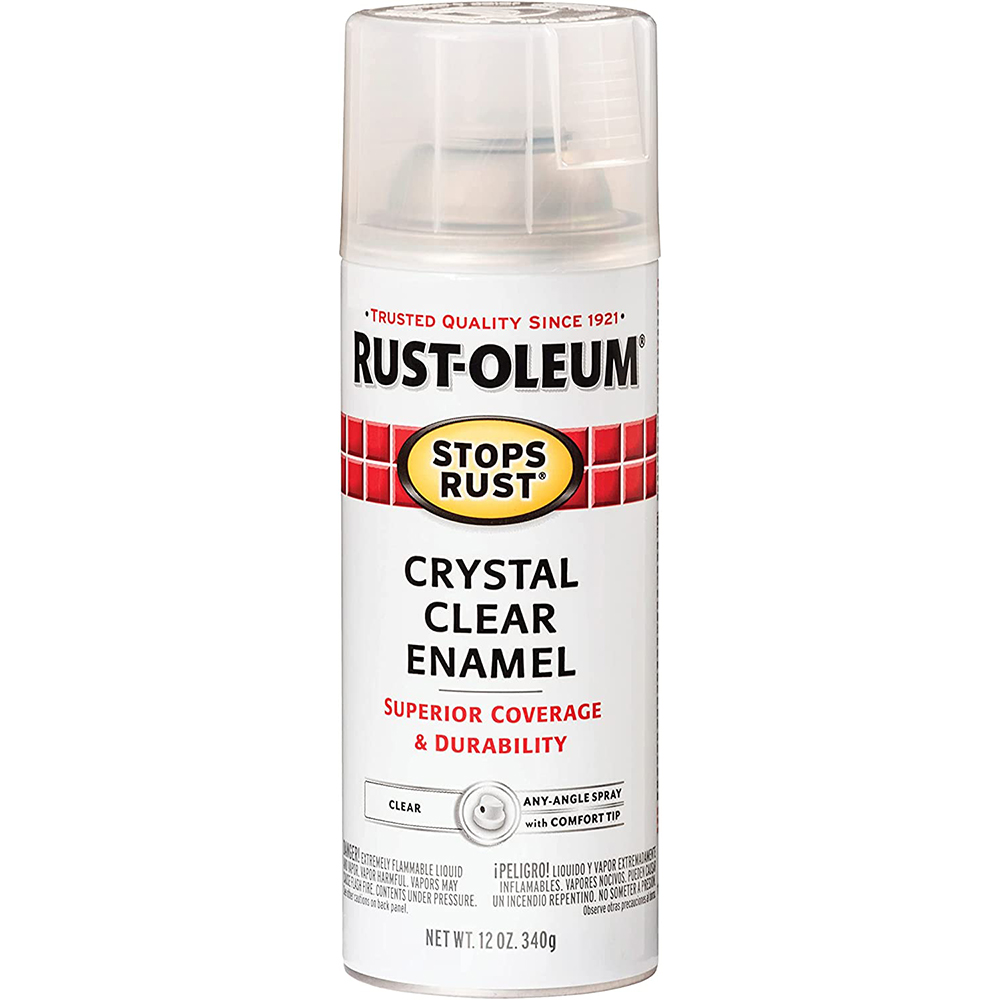 Clear Enamel Spray
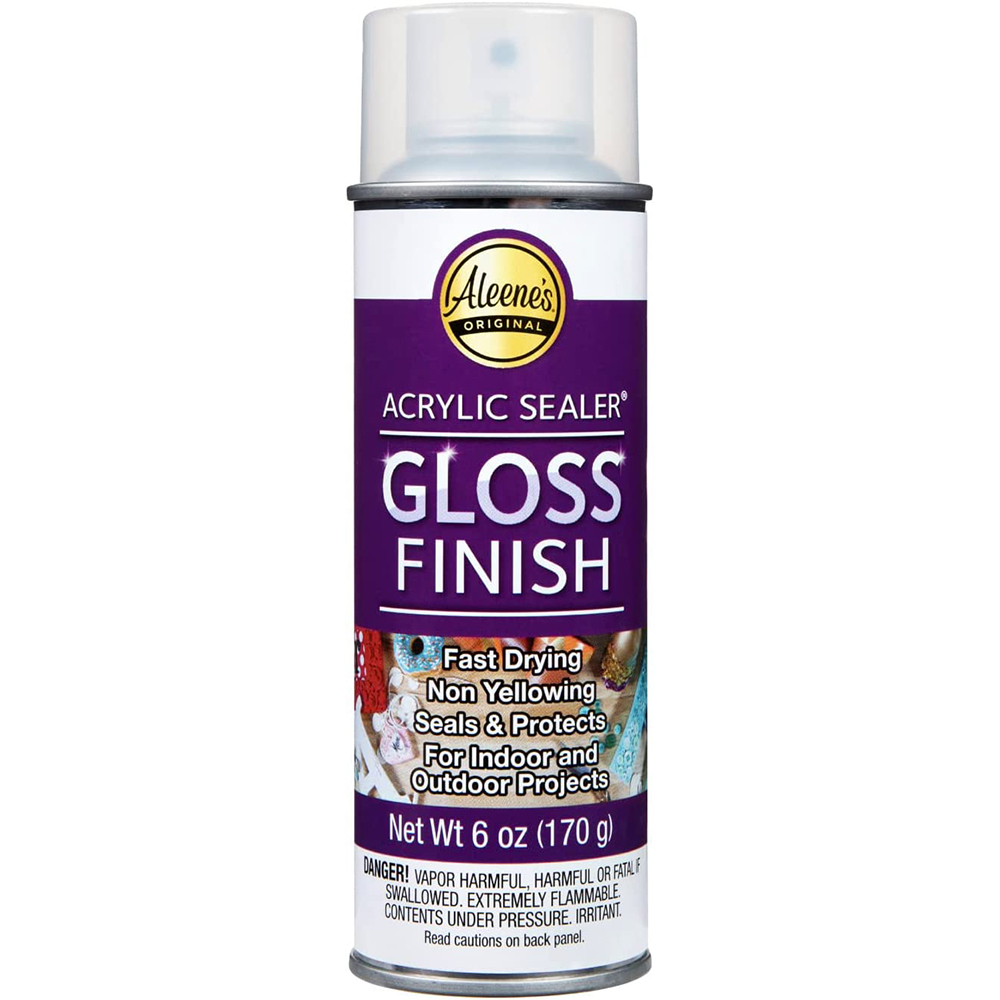 Glossy Acrylic Sealer
Extras!
That’s about it for finishing your prop!
Now that you’ve learned how to build with the basic tools, here are some quality-of-life upgrades that can help make the process and your life a whole lot easier!
- Heat Gun
- Useful for shaping EVA foam and PVC Pipes!
- If handling hot surfaces, find a pair of heat resistant gloves.
- PRODUCT: HEAT GUN, GLOVES
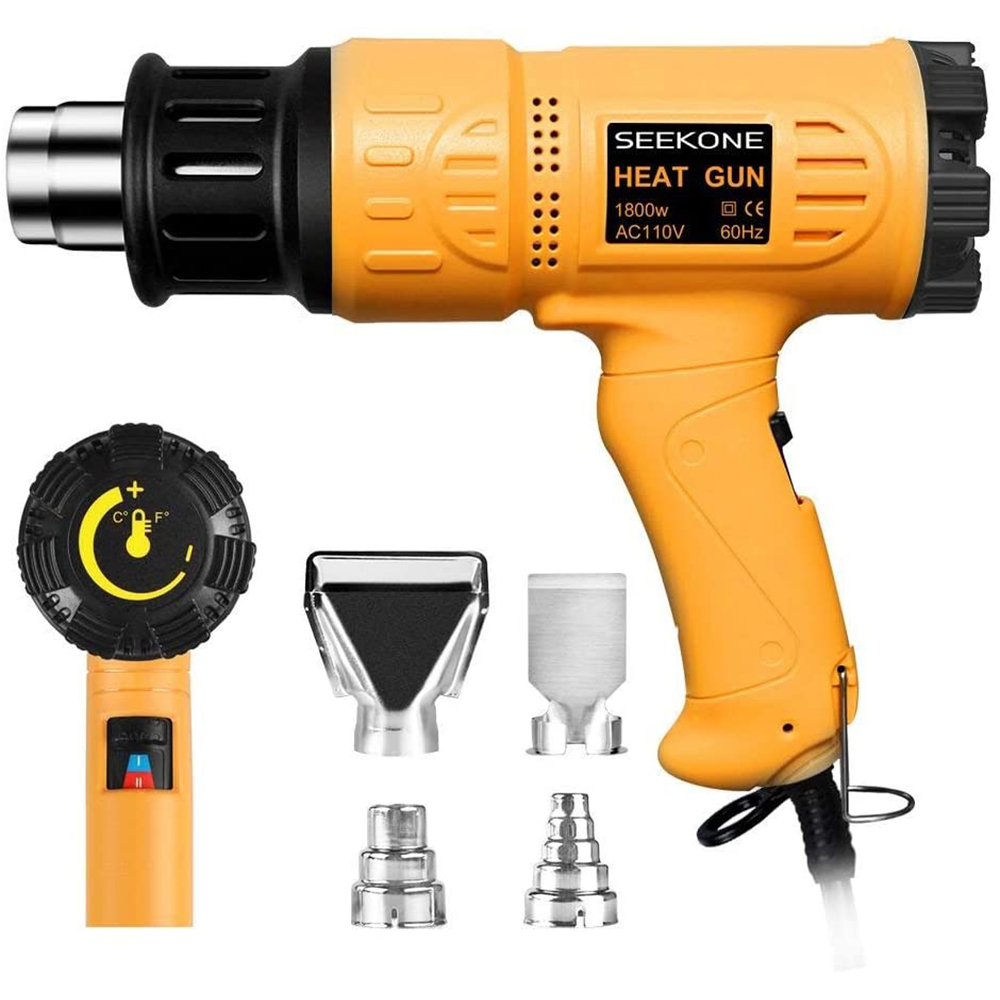 Heat Gun
 Heat-Resistant Gloves
- Dremel
- Rotary tool useful for drilling, sanding, polishing, etc.!
- A bit of an investment, but well worth the price!
- Pick up a Dremel snake to save your wrist and a couple extra bits to work with.
- PRODUCT: DREMEL, FANCY DREMEL, SNAKE, BITS, FOOT PEDAL
 Basic Dremel 200
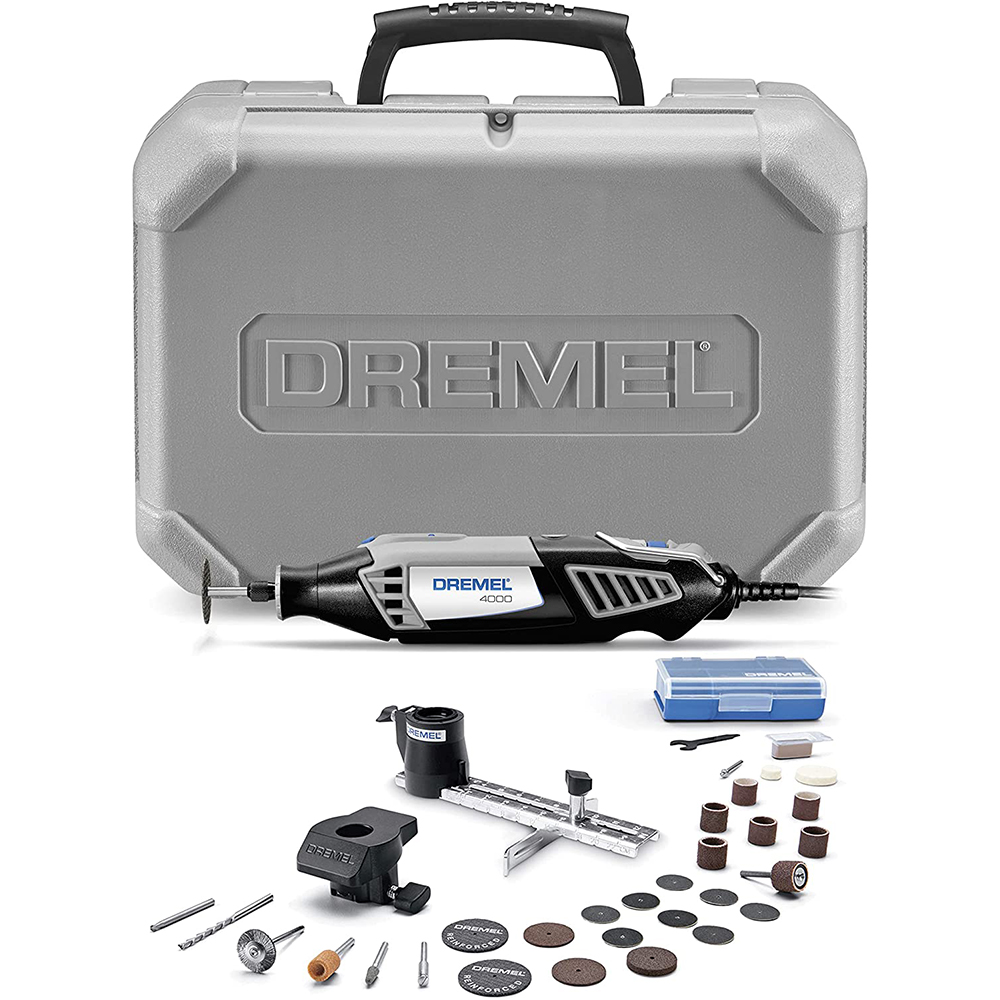 Fancier Dremel 4000
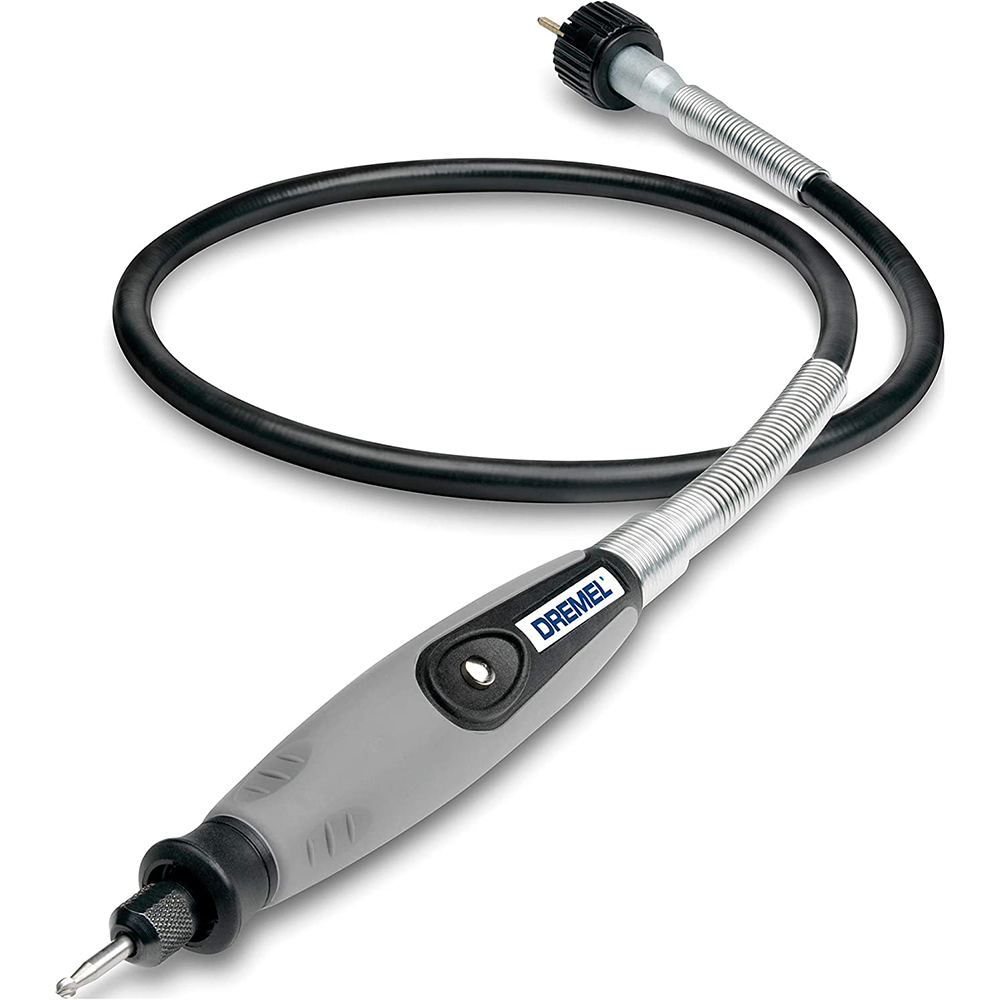 Dremel Snake Attachment
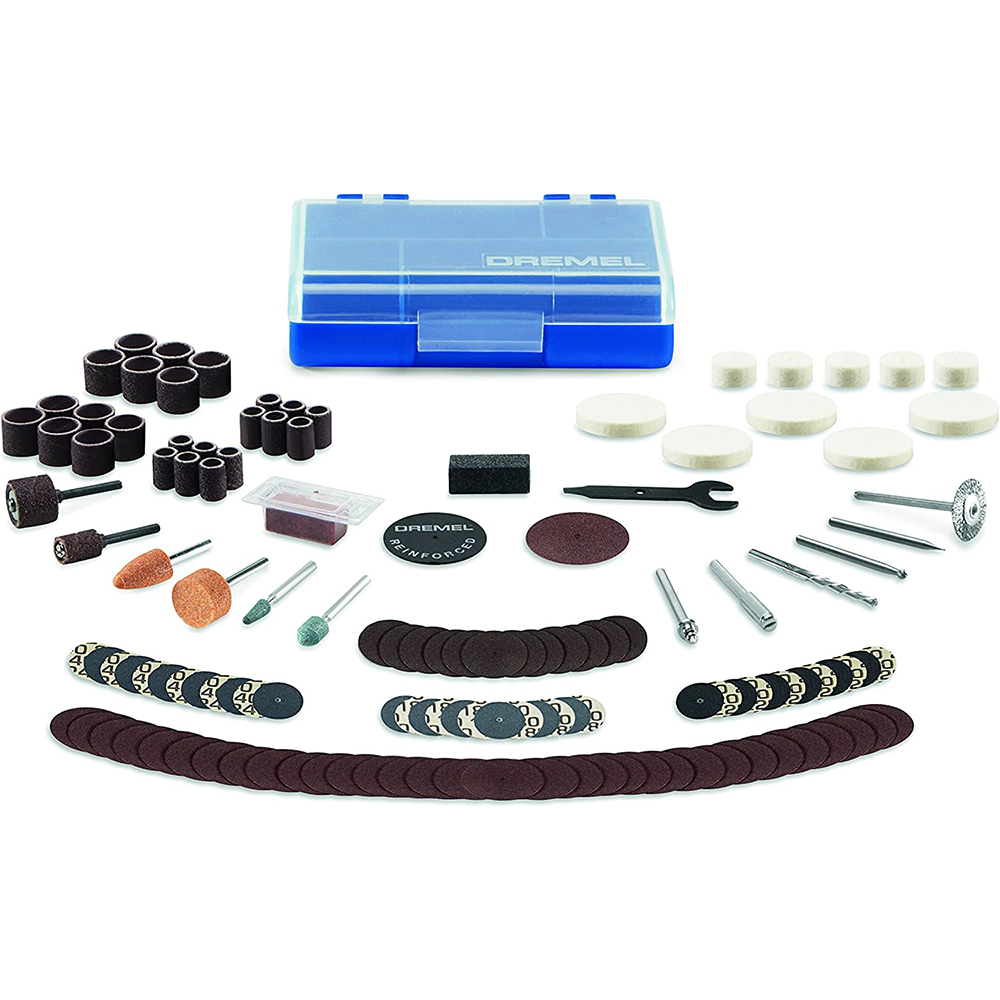 Dremel Accessory Kit
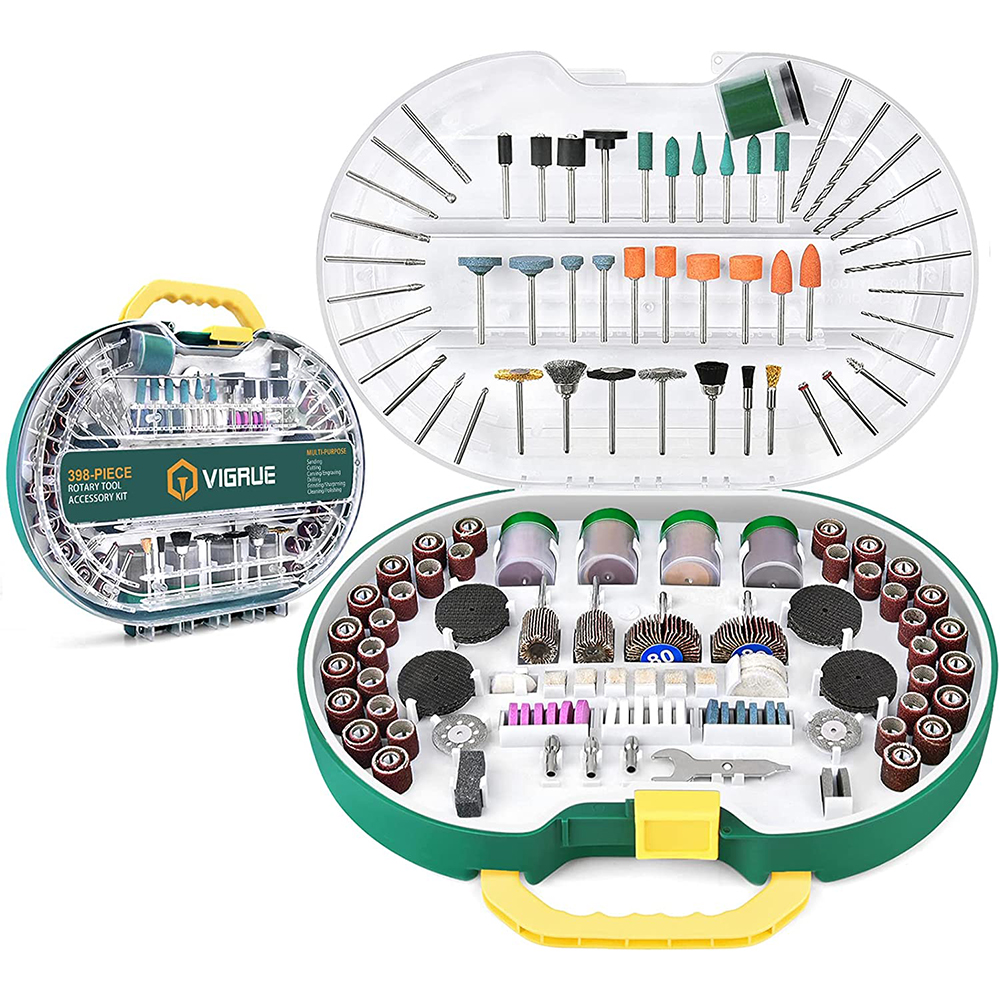 Dremel Accessory Kit (3rd party)
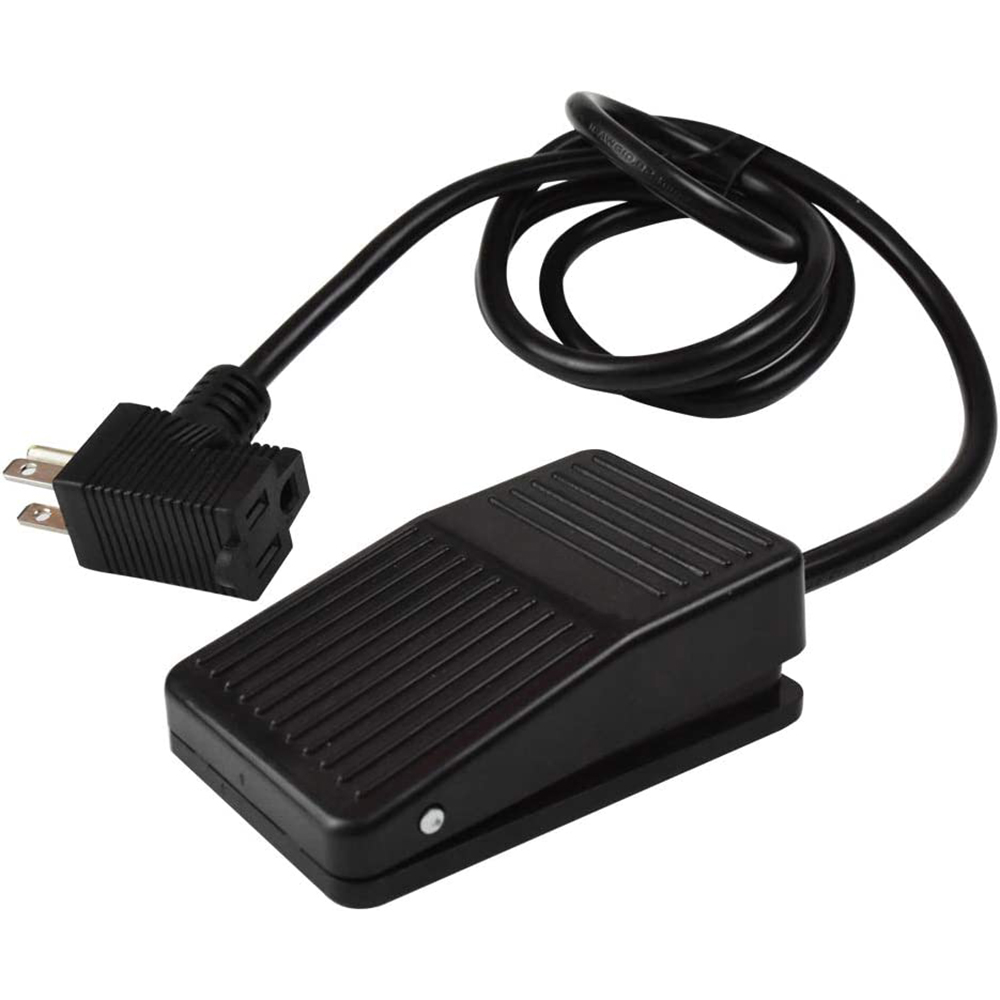 Foot Pedal
- Spray Paint Attachment
- Cheap and easy to use!
- Makes using Spray Paint or Plastidip much easier.
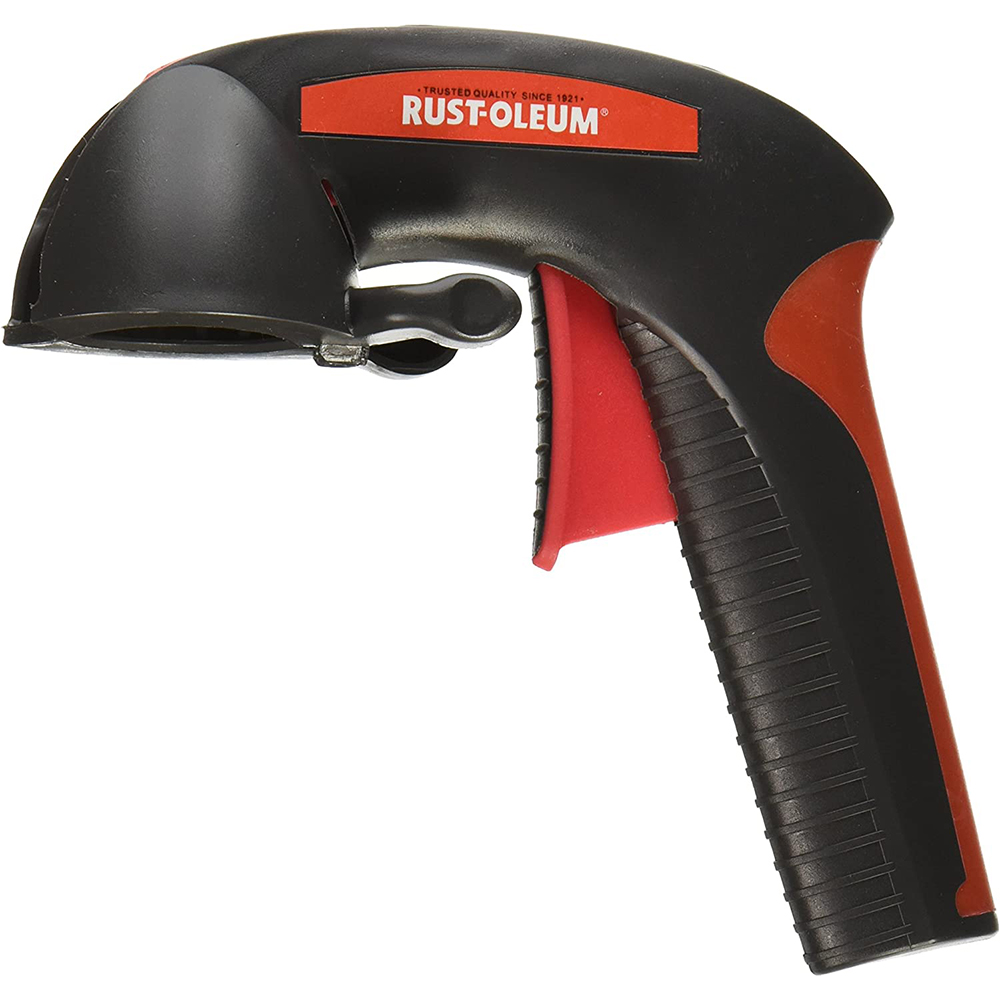 Rustoleum Comfort Grip
- PVC Pipe Cutter
- If you’re using PVC pipes, you’re going to need some way to cut them!
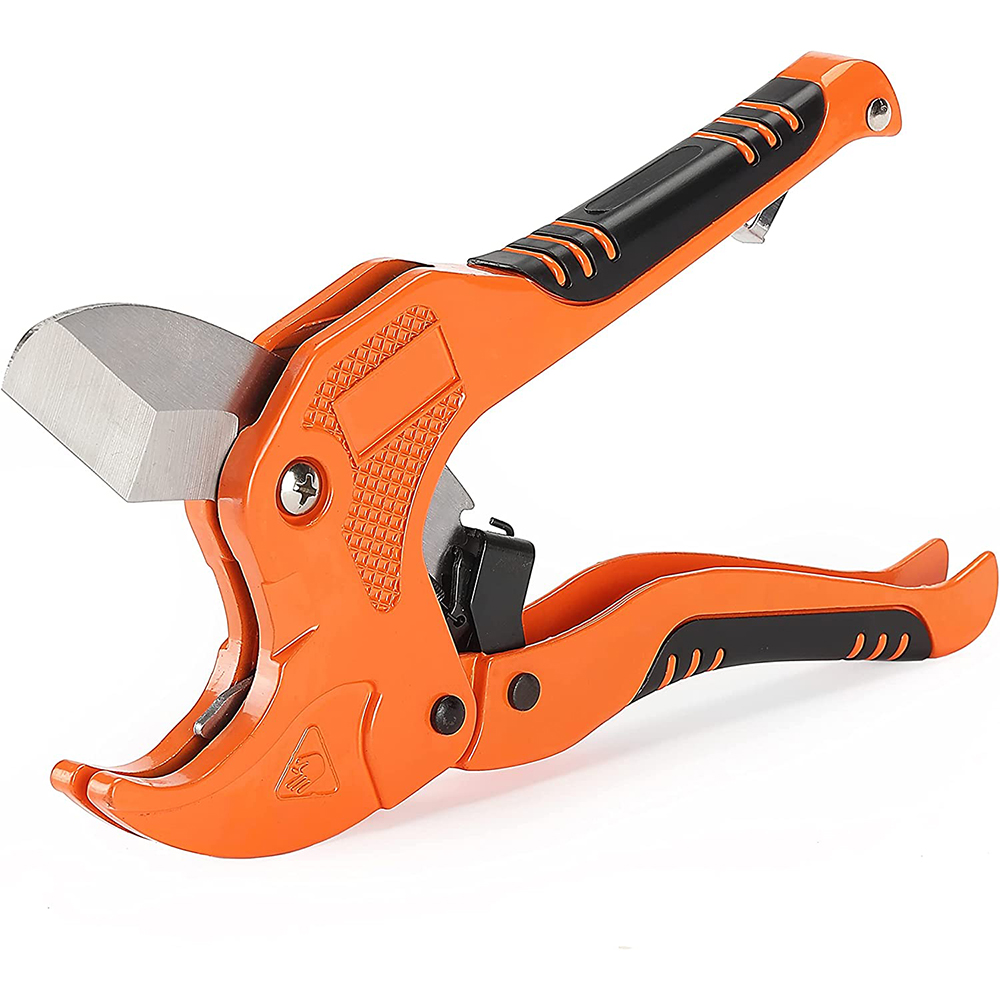 PVC Pipe Cutter
- Soldering Iron
- Used for electronics, but also for burning cool detail-work into foam!
- Read and follow proper safety guidelines!
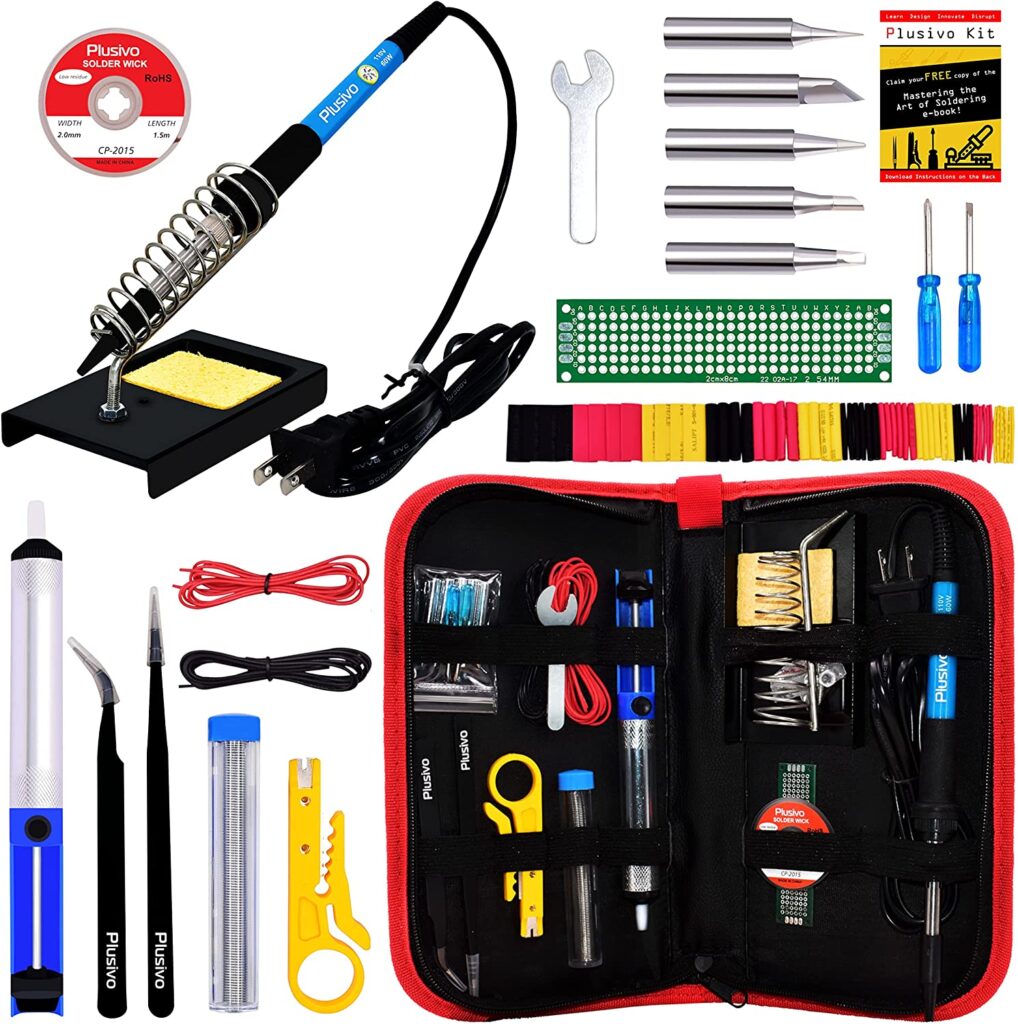 Soldering Iron Kit
Wrap Up!
Congrats on making it to the end of this two-part workshop! I hope you were able to find some useful tidbits to help you get started building!
If you found it helpful or have questions about anything mentioned here, please feel free to drop a comment below!
Back to Workshop