Back to Workshop
Read Time: 10 minutes
Introduction
Hello, and welcome to Sanding Your Prop! I’m your host, ChriSekaiCosplay. In this workshop, we’ll be talking anything and everything about sandpaper.
If you are a new builder and want to learn which tools you’ll want to get started crafting, you should check out the workshop Tools of the Trade.
Now, to start with…
I don’t like sanding.
It’s coarse, and rough, and irritating, and gets EVERYWHERE.
I will go out of my way to make sure my initial cutting and gluing is as smooth and as clean as possible so that I don’t have to sand much!
We are going to :
- Explain what sandpaper is and how it’s used.
- Look at different types of sandpaper*.
- Share some tips to make sanding easier.
*Amazon links are Affiliate links and I might receive a commission if you buy a product. A girl’s gotta make money somehow! 😉
Some will disagree, but sanding is completely optional! You can absolutely glue your pieces together, have a few bumps and uneven surfaces here and there, and be perfectly happy with it.
You should sand your prop if you :
- Want to have a nice smooth finish.
- Want cleanly beveled edges.
- Are painting a surface that doesn’t like to be painted.
- Don’t mind scraping away a piece of your soul at the same time.
If your situation meets the above points, this workshop is for you!
What Is Sandpaper?
For this workshop, we are not getting into the nitty-gritty SCIENCE of what sandpaper actually is. All you really need to know is that it’s paper. One side is typically scratchy or sandy, while the other side is usually smooth, or papery.
The basic use for sandpaper is this: you have a surface that isn’t quite how you want it.
This might be because :
- You have an overlapping seam where two pieces didn’t come together evenly
- Some glue got where it shouldn’t be
- You have markings that need removing
- You want to paint a surface that isn’t perfectly smooth and you want it to be
- You want to completely reshape the surface of your prop
- Etc. etc.
Whatever the case is, you can use sandpaper to solve your problem!
How Do I Sand?
- Take some sandpaper.
- Take your surface.
- Rub.
- Rub.
- Rub.
OK, there’s a bit more to it, but that’s basically it! Rub the sandpaper repeatedly against the surface you are sanding. You don’t need to press down super hard, the sandy surface will be doing most of the work!
Try not to sand your surface too much in one direction. Rub up and down, side to side, and make circle patterns with your paper! Sanding too much one way can leave scratches or markings following that direction.
Make sure that you have decent air-ventilation in your workspace. By sanding something, you are scraping away small pieces of the material which will end up in the air and can be harmful to breathe. Use a proper respirator, crack open a window or have a fan nearby, or better yet, sand outside if you are able!
The process of sanding is straight-forward, however there is a bit more information to know before getting started!
Types of Sandpaper
Every sheet of sandpaper has a grit value: lower values are coarser (rougher) and will scrape away more, and higher values are finer (smoother).
Here is a grit cheat sheet :
Coarse (<80 grit) is used to roughly shape or scrape away material.
Medium (100-220) is used to help remove markings and prep for painting.
Fine (220-320) is used as a final sanding before completion.
Ultra Fine (400-1200) is used prior to polishing, or if you want something ultra smooth.
Number values are for US standards.
If you are sanding a rough surface smooth, you want to start with a coarser (lower grit) paper and slowly work your way up the numbers.
This can be time-consuming depending on how rough your edge or surface is to begin with and how smooth you want it to be. However, even a couple passes with a Medium grit sheet can help level off where two foam edges didn’t quite meet cleanly or where a bit of glue got outside of a seam.
If you are just starting out, I would recommend having a Coarse, a Medium, and a Fine sheet in your tools arsenal. You don’t need to collect all the numbers!
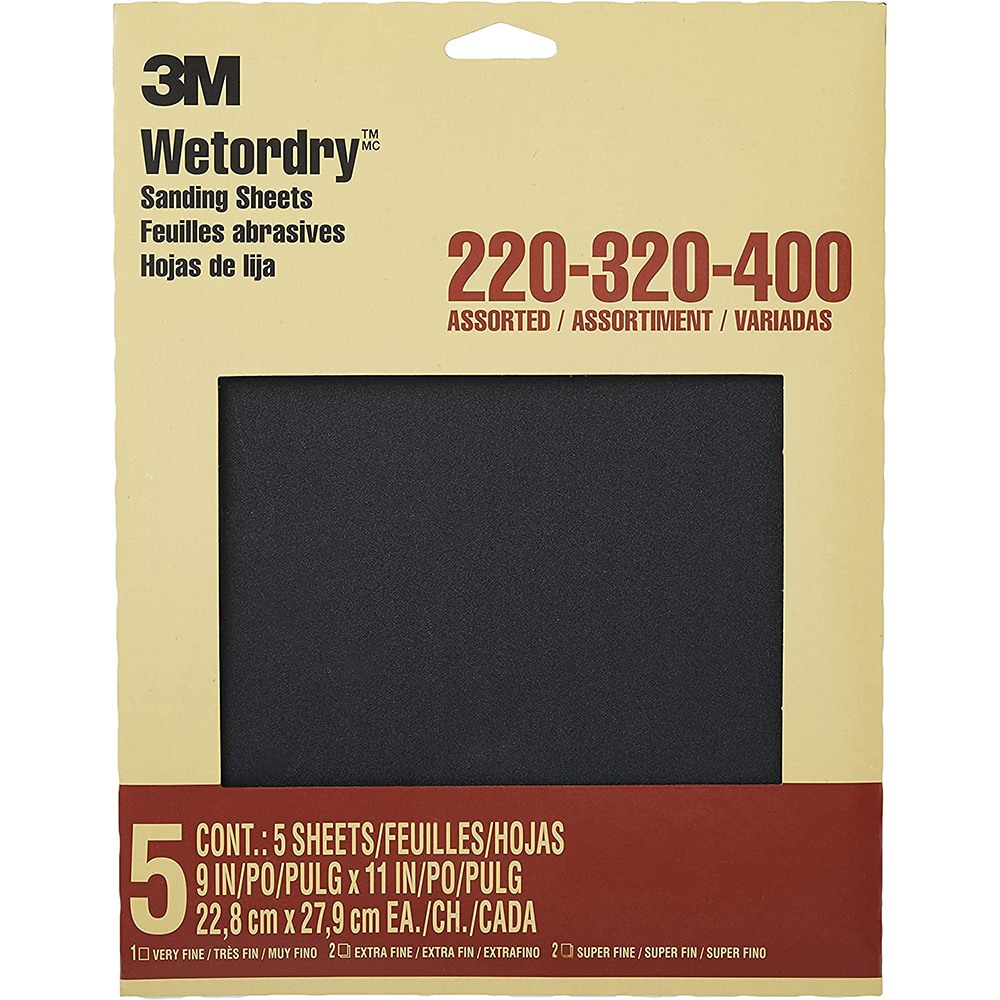 5-pack (grits: 220, 320, 400)
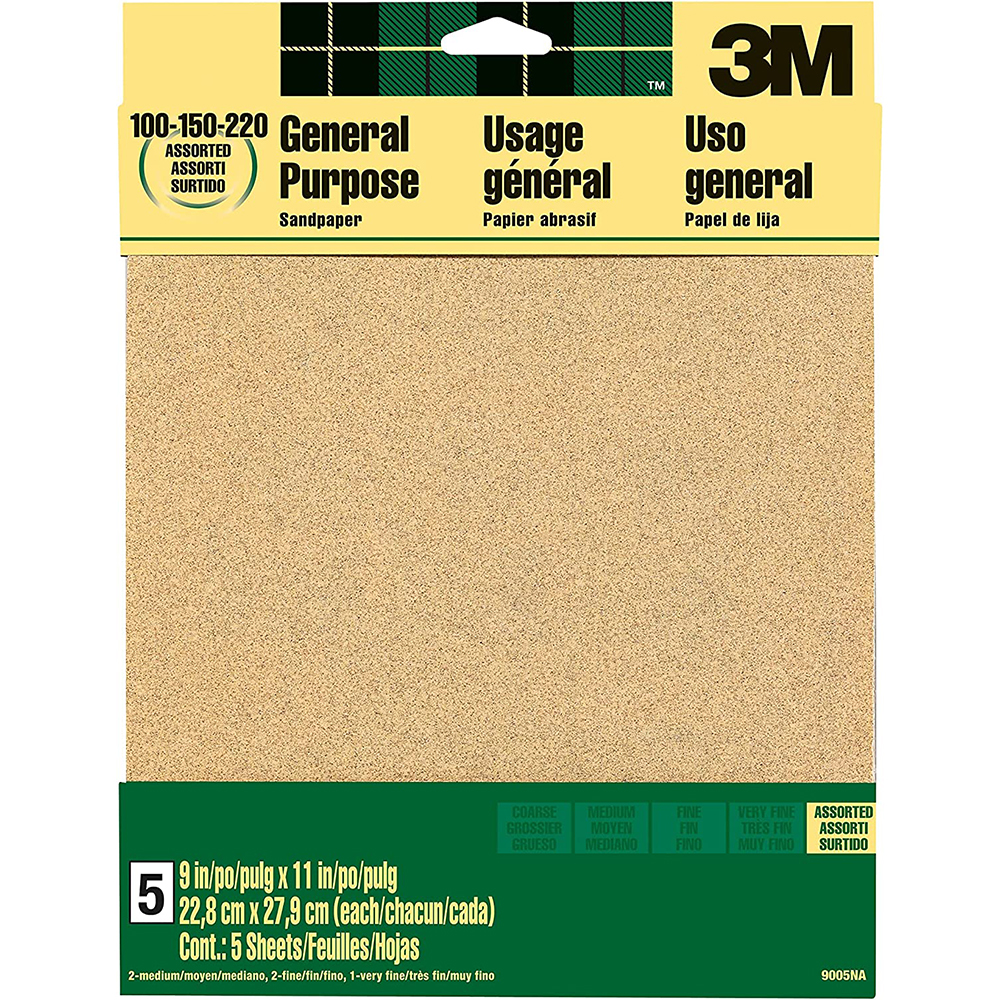 5-pack (grits: 100, 150, 220)
 45-pack (grits: 120-5000)
The Shape of Sand
Sandpaper will most commonly be found in sheets, but you can also find it in different forms! These forms have their own unique applications, and are fun to know about but are not necessary for most projects, especially if you’re just starting out.
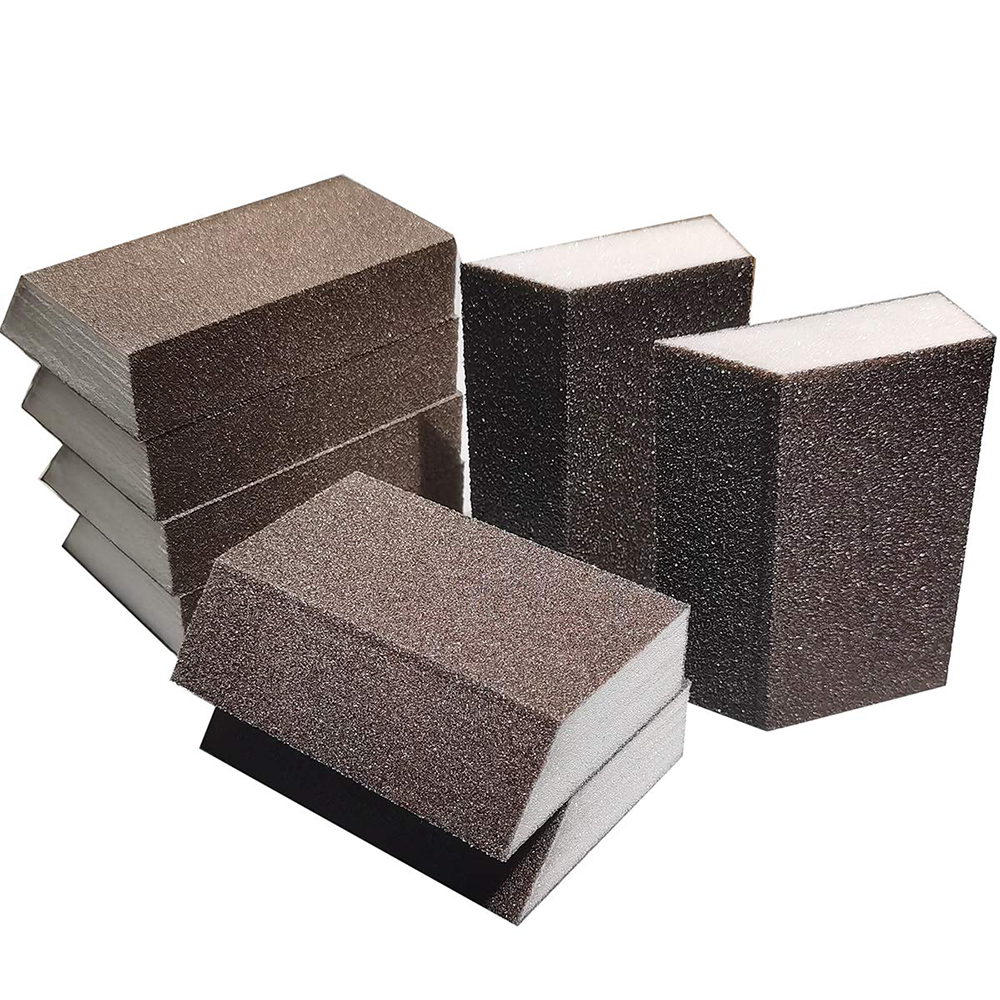
- Sanding Block or Sponge
- Sandpaper, but it’s a hard block! Sometimes one side will be a nice, clean angle so you can easily add a beveled edge to a piece.
- The hard block allows you to apply more pressure when sanding.
- Helpful when working with wood, drywall, or very large and rough surfaces.
- USE: Corners, edges, surfaces you really need to grind down.
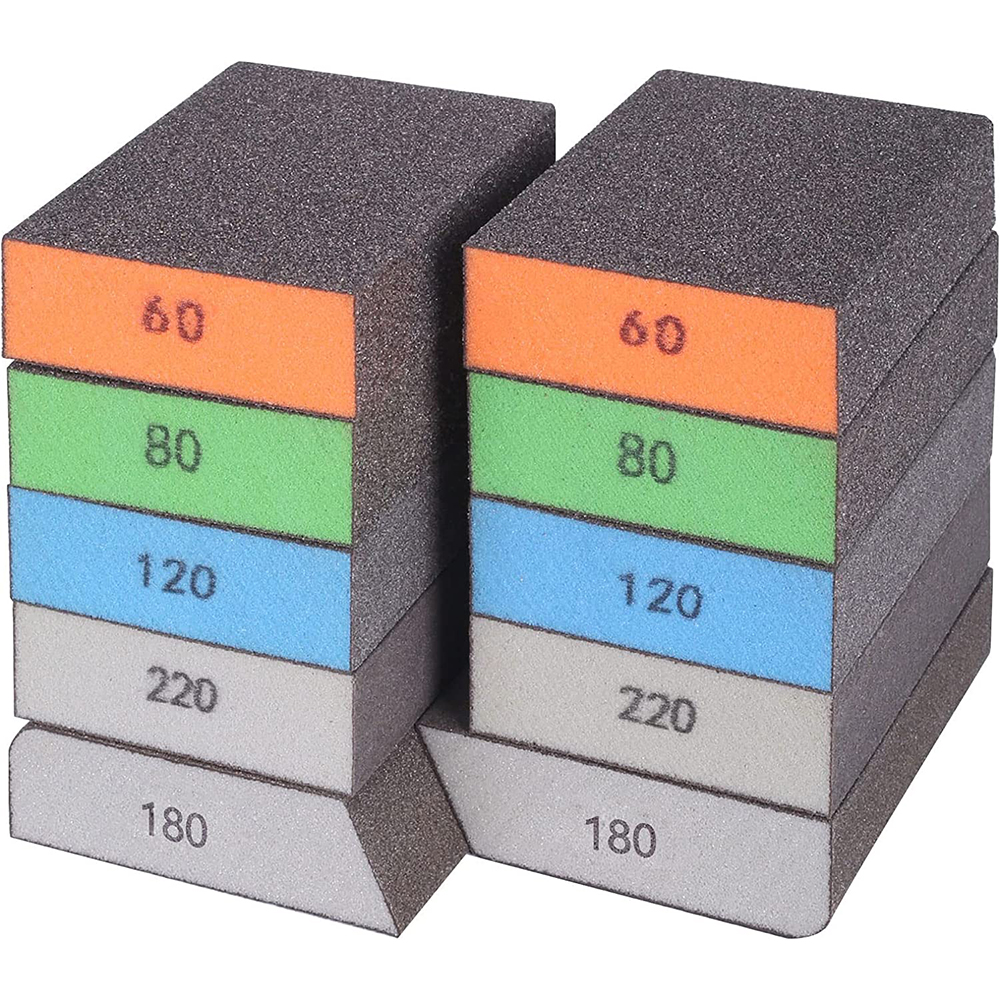 Sanding Sponges
 Angled Sponges
- Dremel Bits
- Sandpaper, but it’s on the end of a Dremel!
- Very handy if you have a Dremel and want to quickly sand down an edge or bevel.
- USE: Edges, small surface areas, detail work.
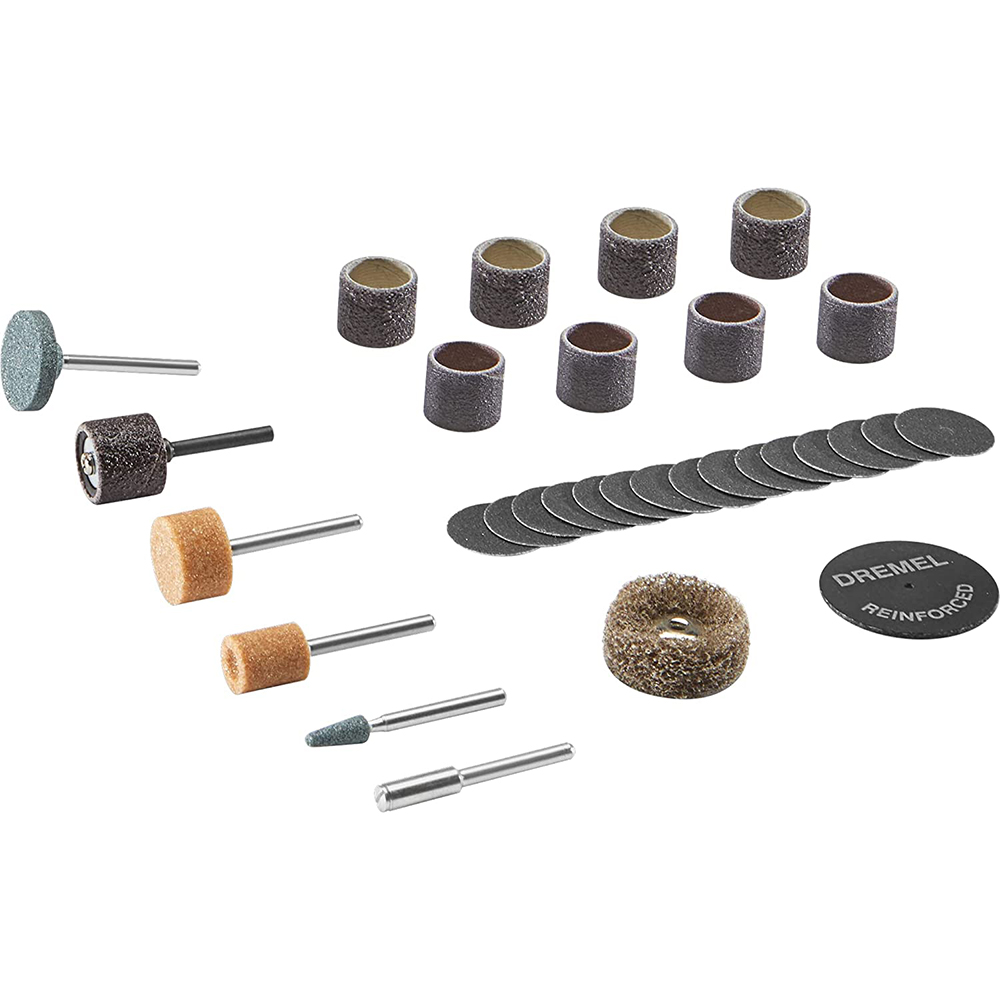 Dremel Sanding Bits
- Power Sander / Belt Sander
- Sandpaper, but it’s heavy duty! Can be an electric-powered handheld unit you run over your surfaces, or a tabletop tool that you press your surfaces against.
- If you are just starting out, you really do not need to invest in a power sander.
- USE: Large surface areas
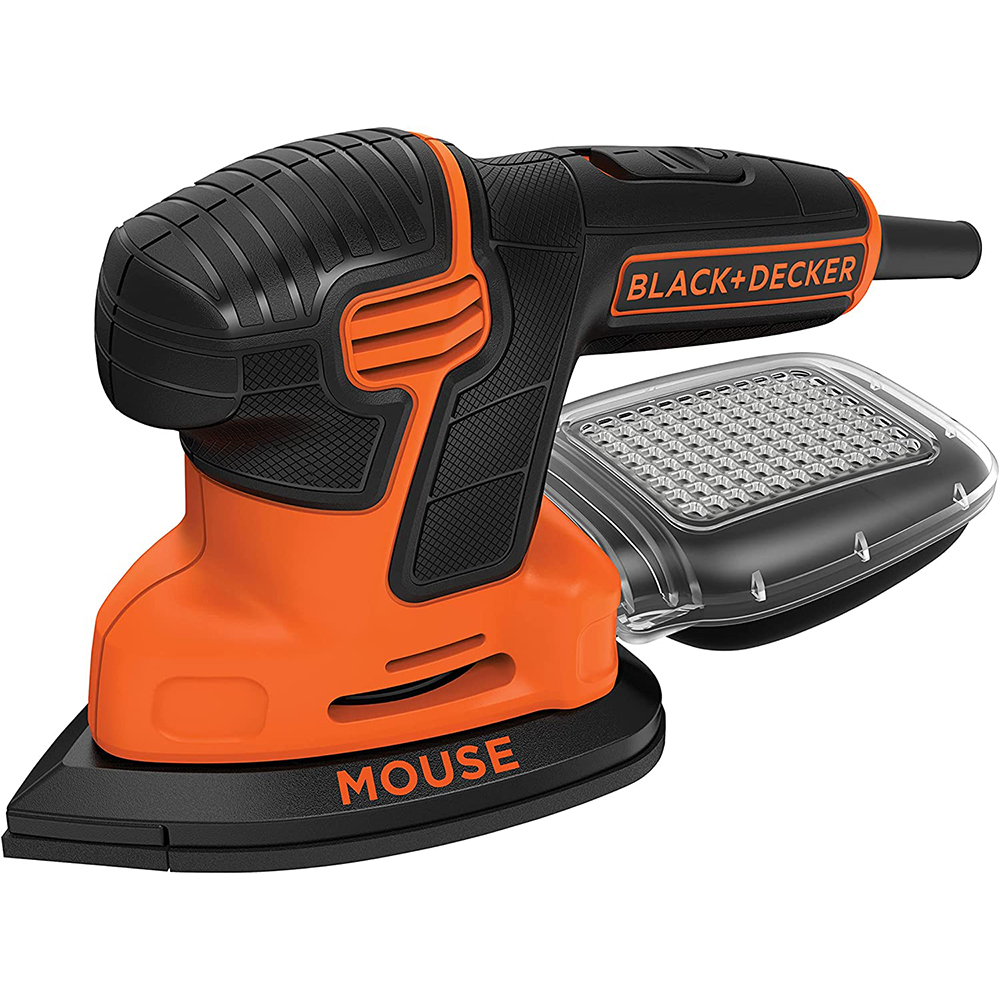 Electric Detail Sander
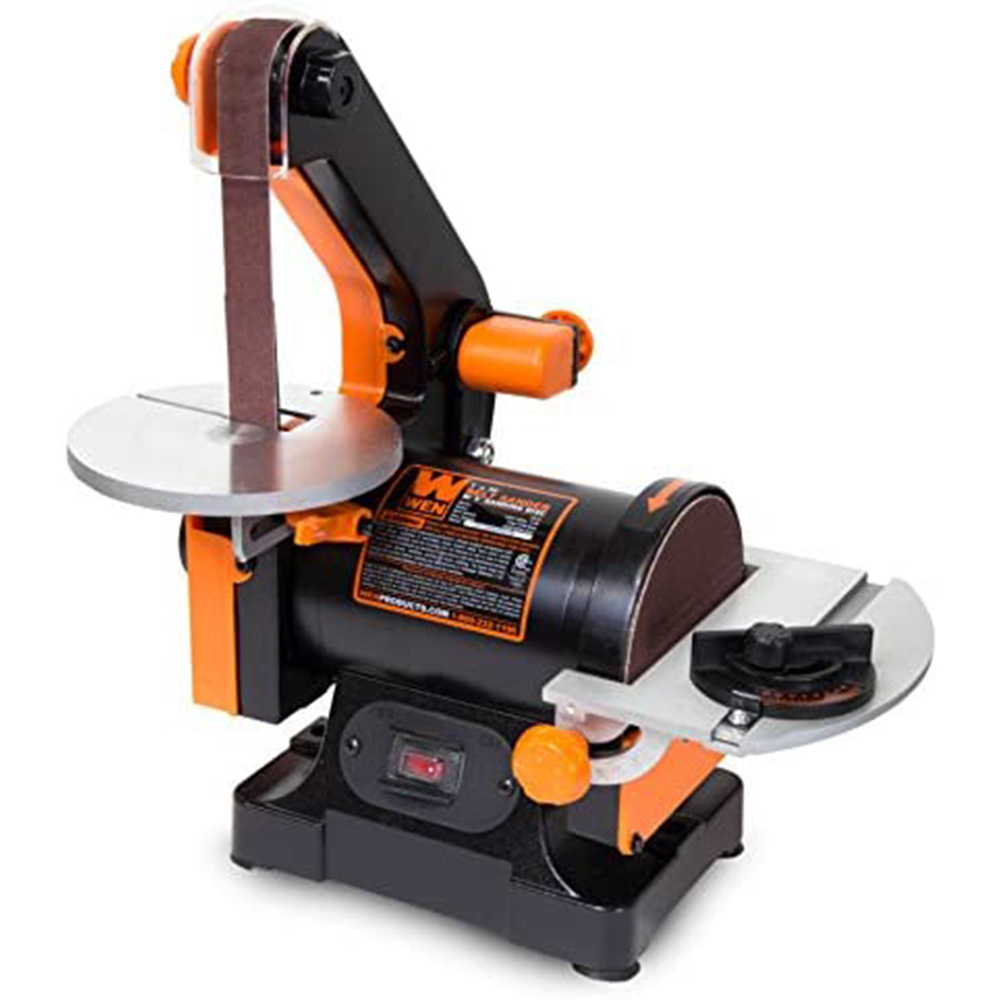 Table Sander
Sanding Tips & Tricks
Here are a couple of tips and tricks I have found helpful when it comes to working with sandpaper! All of these tips I have heard second-hand, so I claim credit for nothing here.
Use Paint Stir Sticks!
- Cut off a small rectangle for each grit of sandpaper you have, wrap it around and glue it to the end of a paint stir stick! These Sanding Sticks are cheap and easy to make, and it really helps save your wrists when you’re sanding large (or even small) areas. Label the handle end of the stick with the grit number to keep your tools organized!
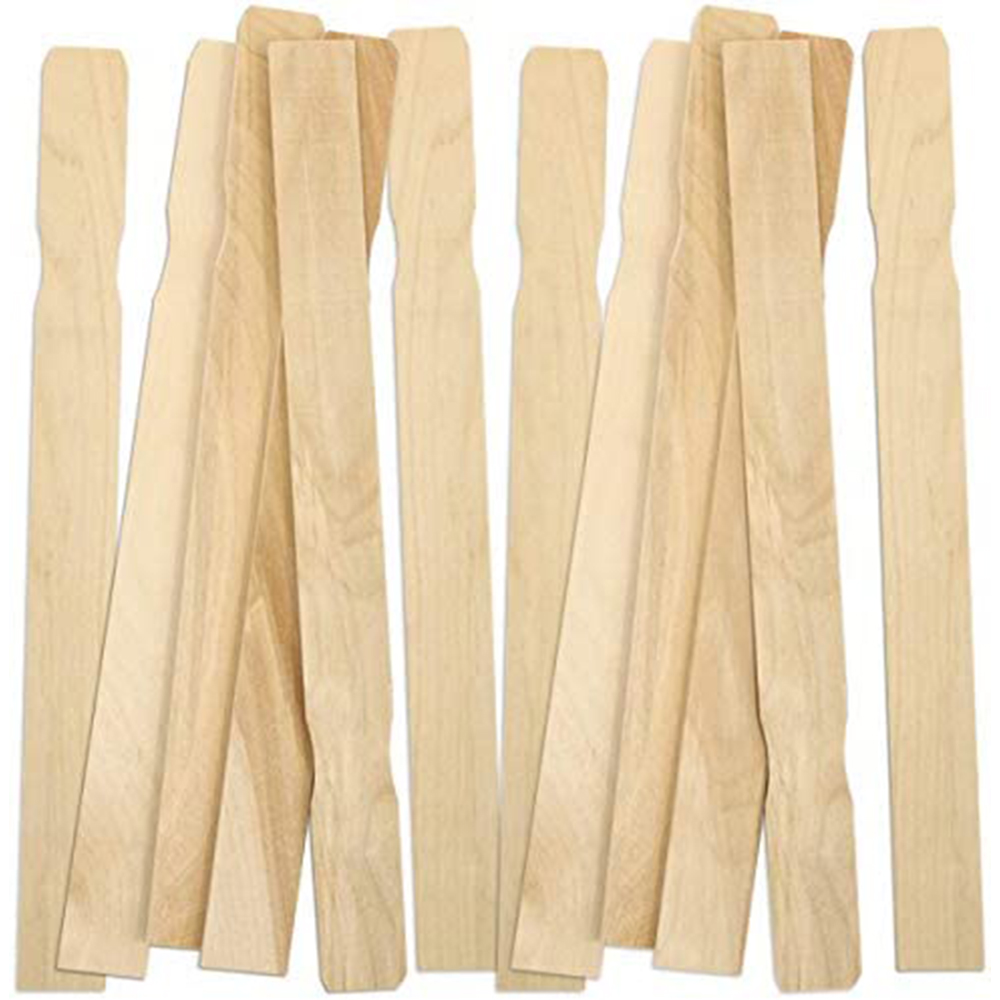 Paint Stir Sticks
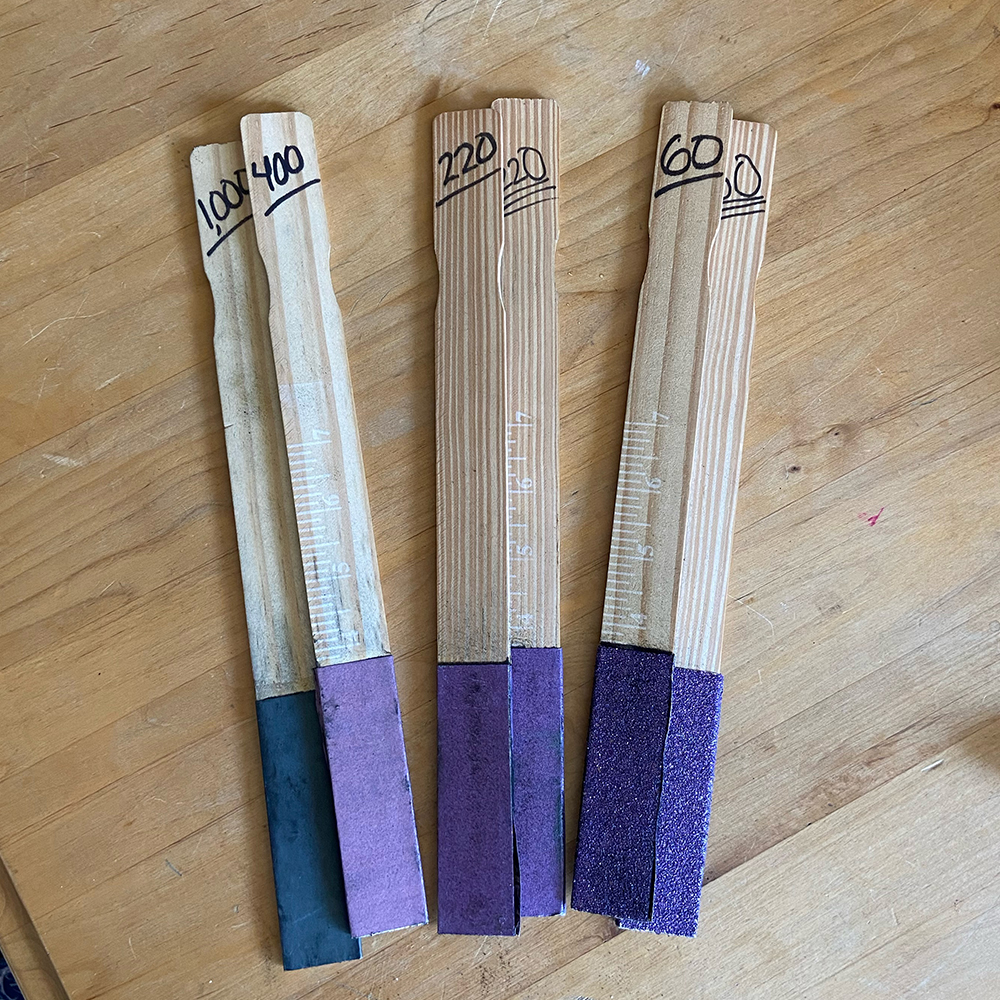 Easy Sanding Sticks!
Wet Sanding!
- If you’re sanding something plastic like PVC or resin, try wetting your sandpaper before sanding! The moisture traps some of the dust and helps to keep the harmful plastic out of the air and away from your lungs! This is NOT a replacement for using a respirator or properly ventilating your space, it simply helps!
Sandpaper is not JUST for smoothing!
- When building a prop sometimes you might want a bit of a rough texture. In this case, you can use a coarser grit sandpaper to rough up a smooth surface!
Wrap Up!
Congrats on making it to the end of this workshop! Hopefully you understand a little more about sanding props and how to use sandpaper.
If you found it helpful or have questions about anything mentioned here, feel free to drop a comment below!
Back to Workshop
Feel free to leave a reply below if you found this helpful! 💕