Back to Workshop
Read Time: ~10 minutes
Introduction
Hello, and welcome to Tools of the Trade: Part 1! I’m your host, ChriSekaiCosplay. In this workshop, we’ll be walking through the basic tools you’ll need to get started for building your very own cosplay props from scratch.
If you’re looking for Tools of the Trade: Part 2, it’s right here!
A lot of cosplayers (especially newer or more casual creators) tend to shy away from building their own props simply because: they don’t know where to begin, they don’t want to invest a whole bunch of money into buying expensive tools and materials which they might not even really need, and/or they don’t think they have the time/space to sit down and craft.
We are going to :
- Break down the building process into the most basic tools you would need to get started.
- Explain a little bit about what each tool does and in what situation(s) it is useful.
- Give recommendations for tools on Amazon* (budget-friendly!)
- Introduce handy “Extras” to make your crafting life easier! (see Part 2)
*Amazon links are Affiliate links and I might receive a commission if you buy a product. A girl’s gotta make money somehow! 😉
Alright, let’s get started!
Somewhere to Work
Before you order any new tools or supplies, the very first thing you need to do is make sure that you have a good space to work in!
A good space has :
- Enough space for your project…
- If you’re building an 80 inch sword and your workspace is the surface of your 75 inch twin-bed, you might want to plan on building it in sections or find a larger and flatter workspace!
- Not everyone has access to huge and flat workspaces. You absolutely can work on a bed, on the floor, or wherever you can find the space! Just know going in that different challenges will emerge from having an uneven or difficult-to-navigate workspace.
- Think about where you plan to store your project!
- Where will you keep the project while you’re not working?
- Where will you store the finished build?
- Can you build the prop in sections to make construction, as well as potentially travel and storage, easier?
- An 80 inch sword broken up into 4 parts is only 20 inches per section. This makes building as well as storage much easier to accommodate!
- Enough light to see what you’re doing…
- Pretty self-explanatory, but make sure you have enough light in your space to accurately see what you’re doing!
- If you’re painting a prop, different colors look different based on the light they’re in! Bring your painted prop close to a window or outside to see how it looks under natural sunlight.
- Here are a couple of simple desk lamps. The main things you want in a good lamp are adjustable light levels and a light source you can swivel and move around as necessary! You do not need to spend hundreds of dollars on a lamp.
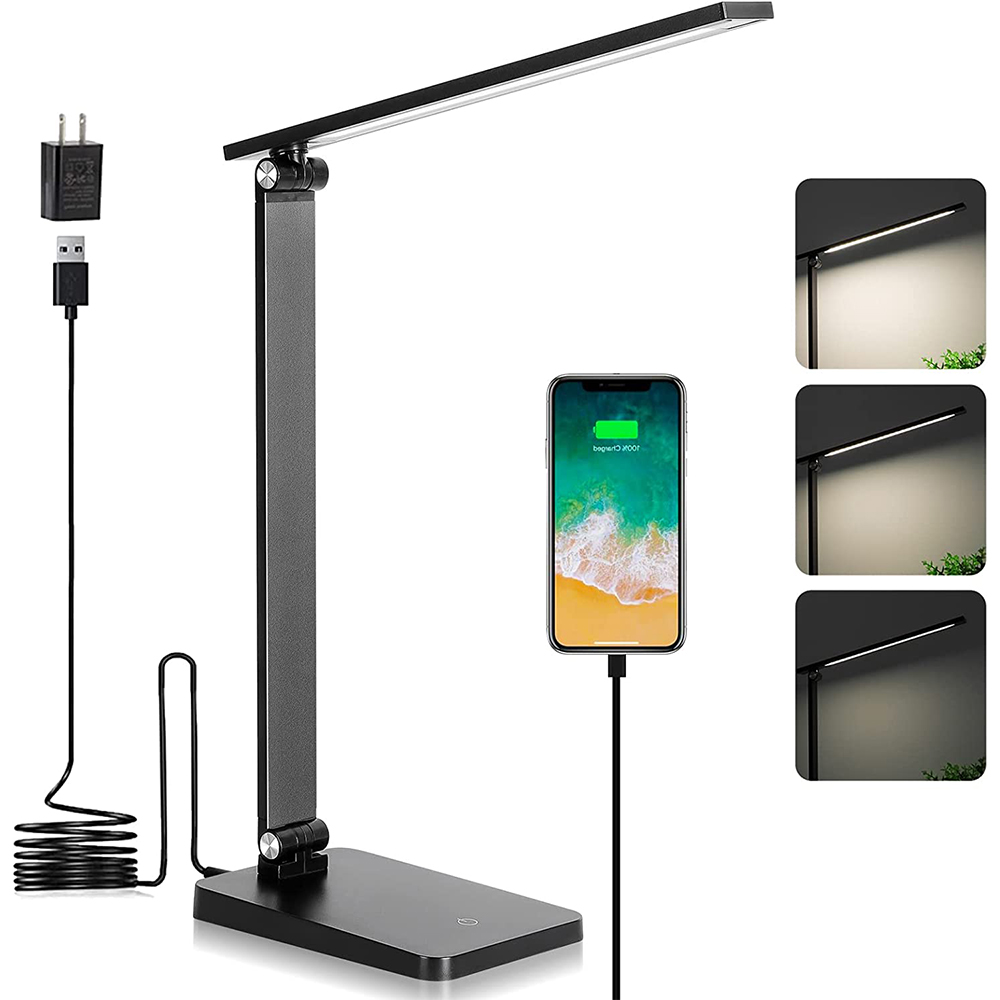 Basic Desk Lamp
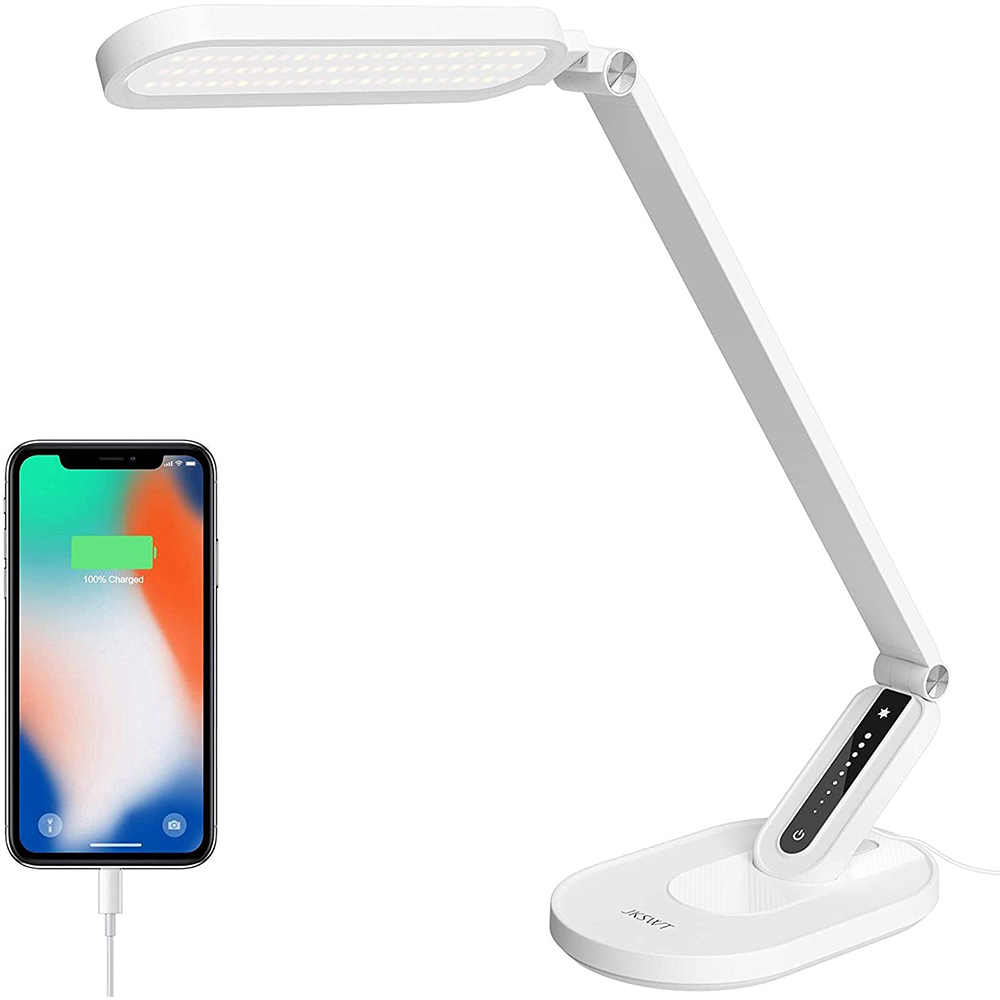 Basic Desk Lamp that can swivel more!
- Decent airflow…
- If you’re using glue, spray paints, or anything chemical that gets in the air, make sure that your workspace is adequately ventilated, or better yet, have an outdoor space to work in!
- Have a fan nearby, open a window, do what you can to blow the nasty away.
- Respirators, goggles, and gloves are always recommended when sanding things or using anything chemical.
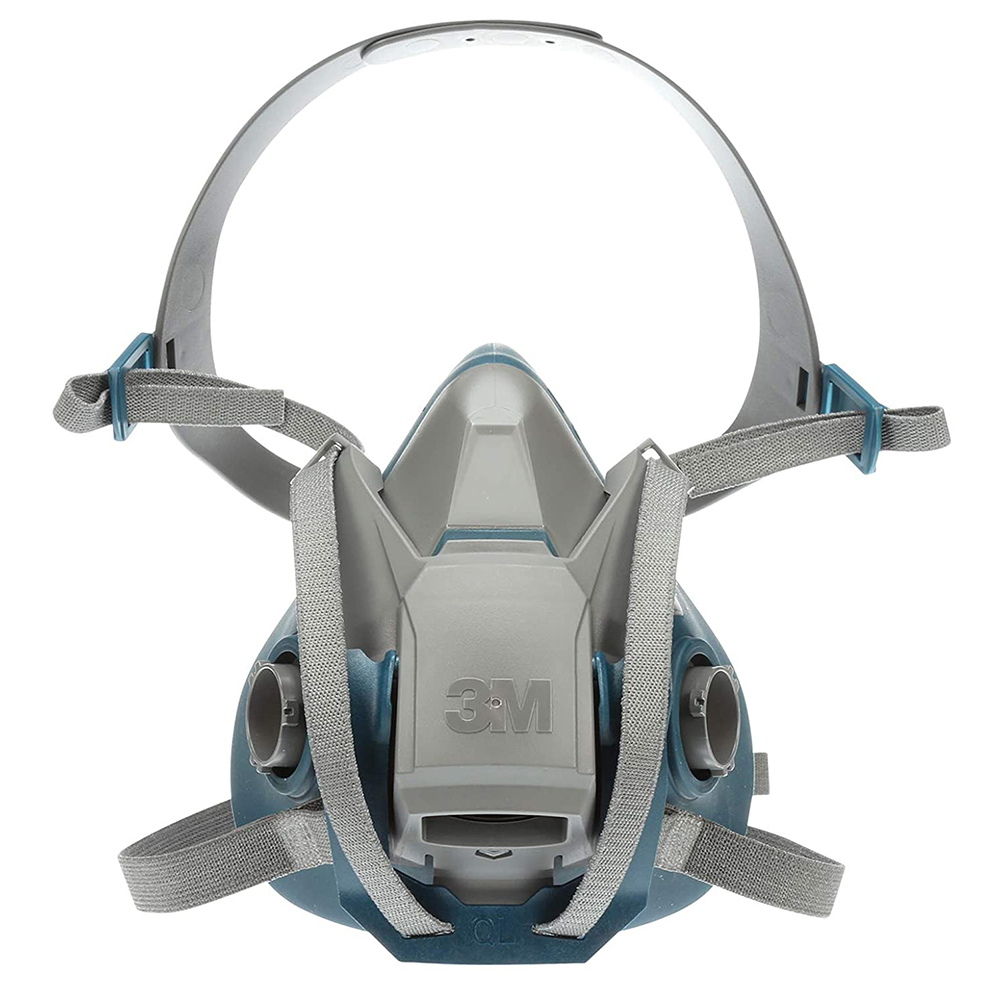 3M Respirator
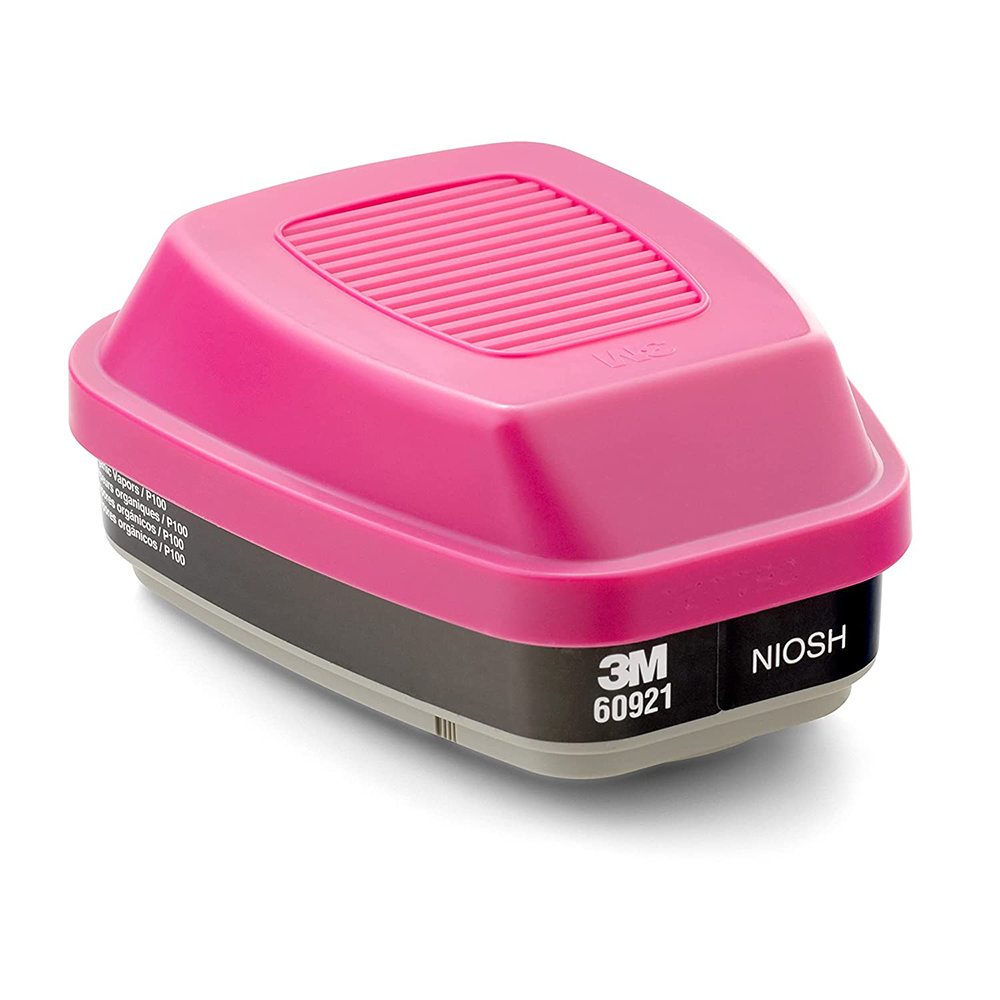 Spare Respirator Cartridges
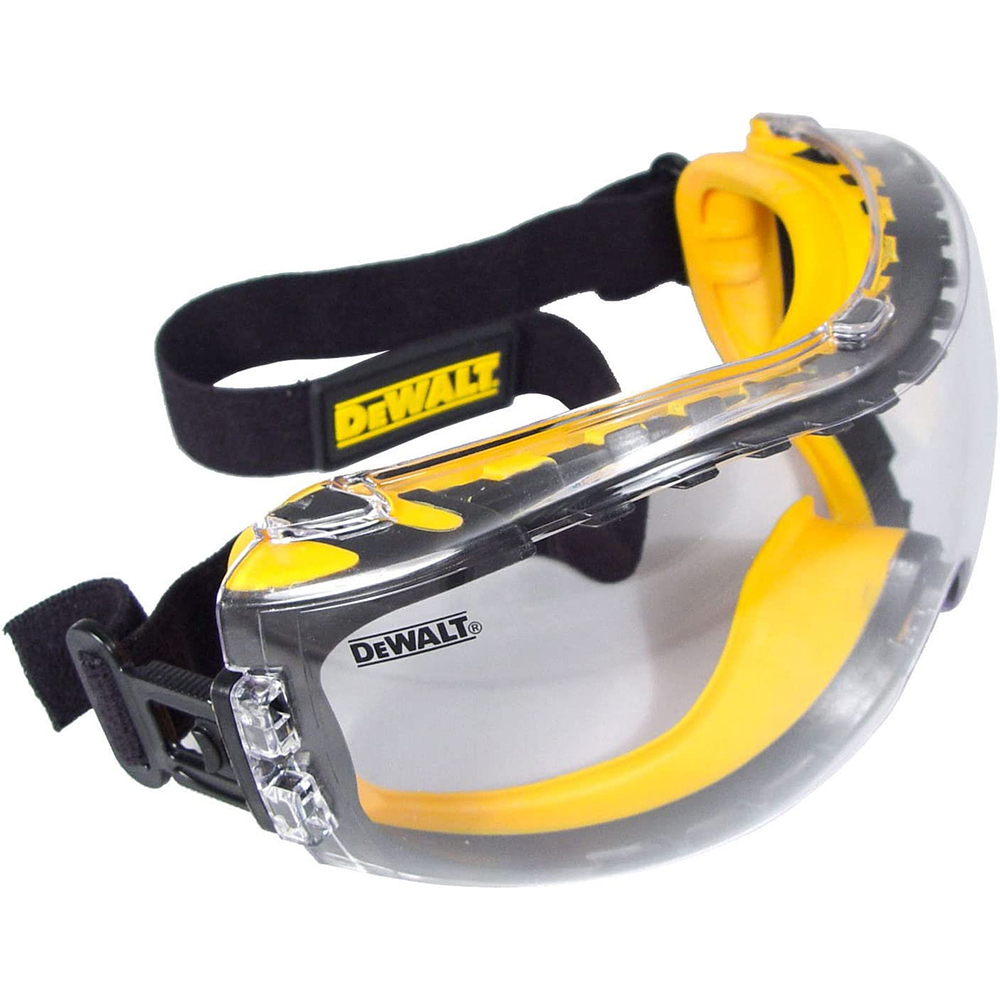 Anti-Fogging Safety Goggles
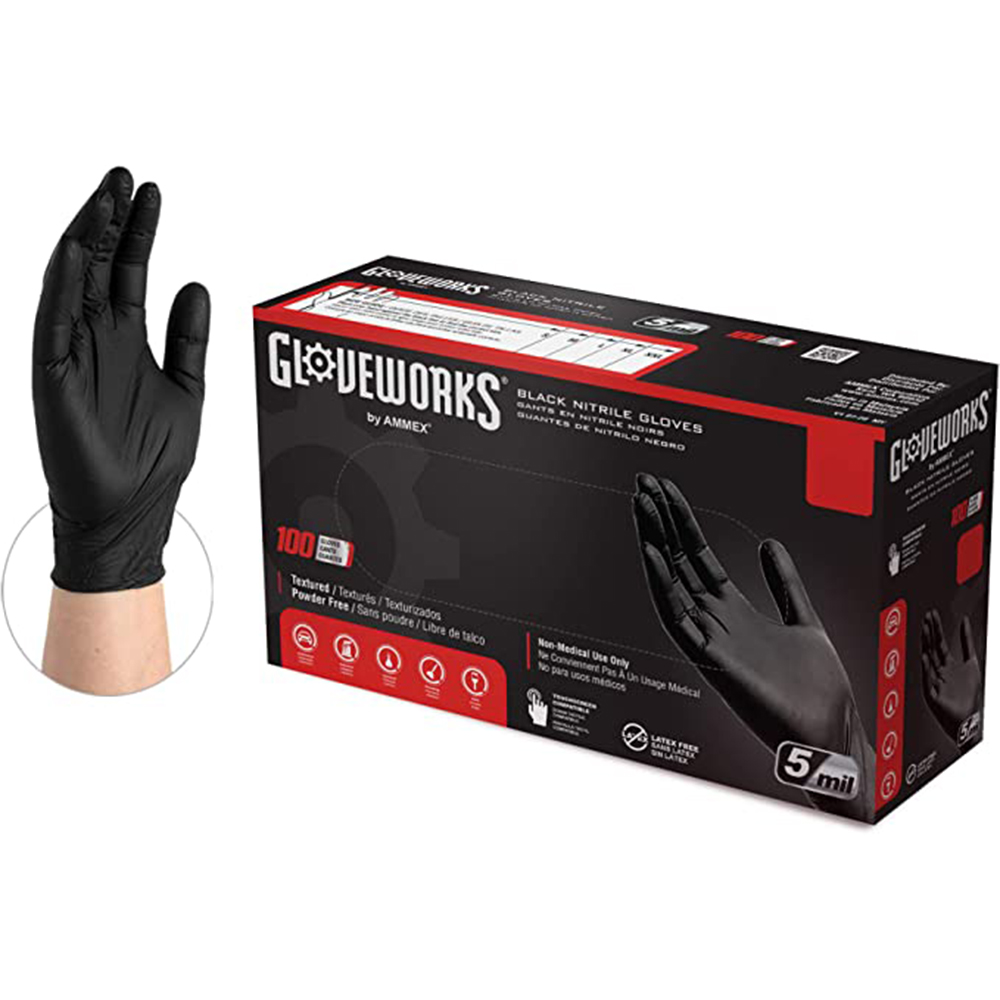 Disposable Gloves
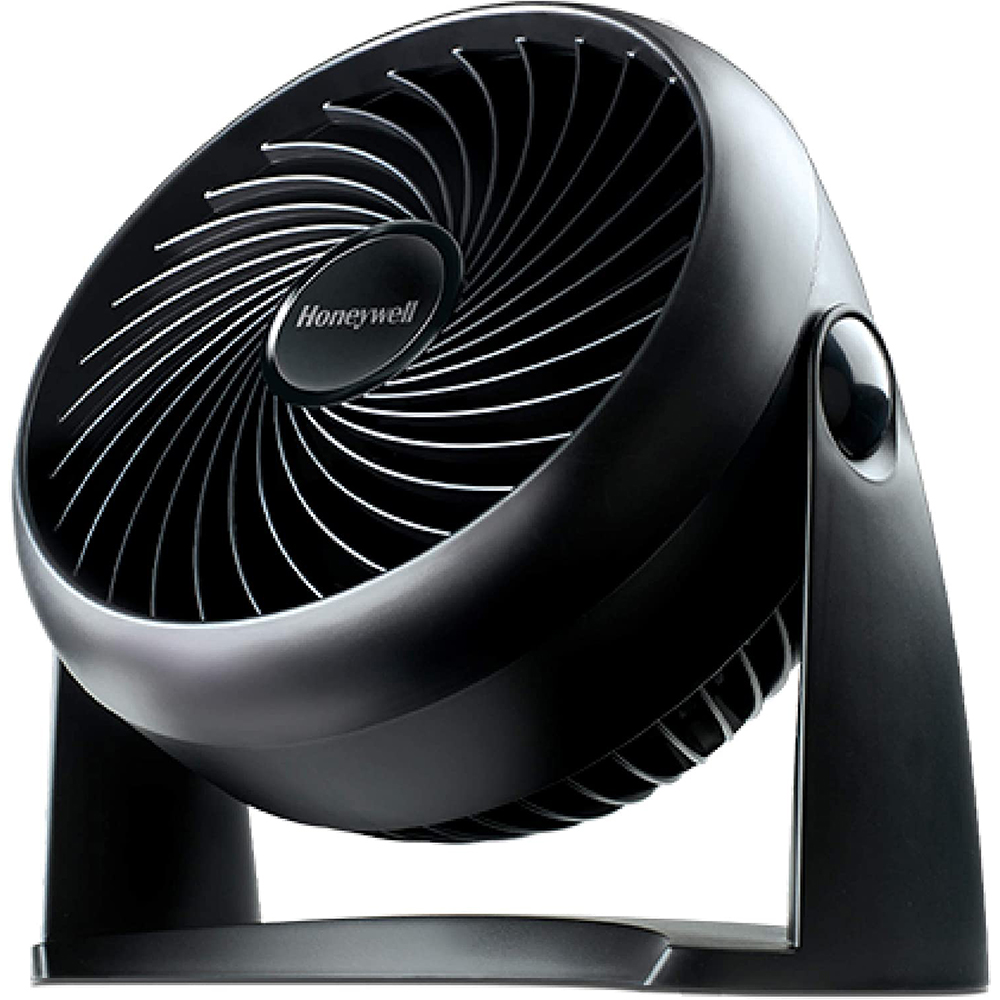 Small Desktop Fan
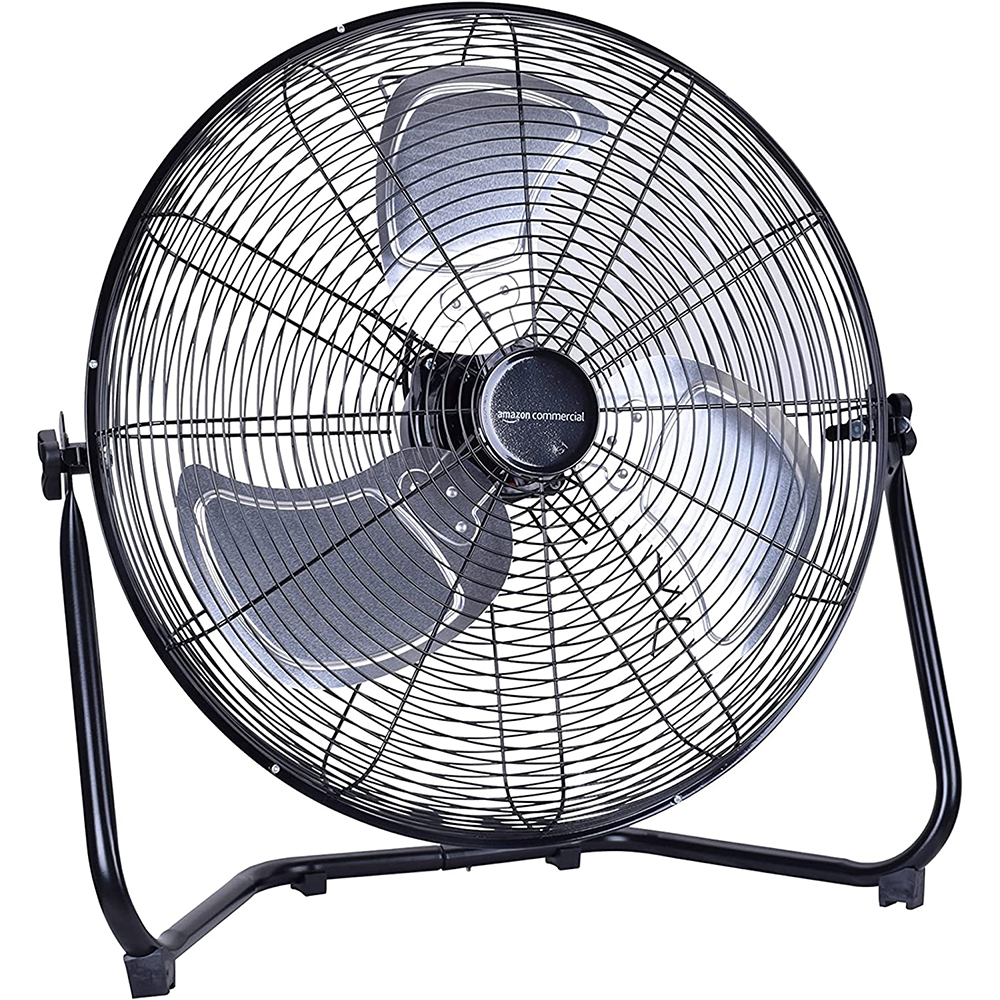 Large Shop Fan
Something to Draw With
Surprise! You’re an artist! You are going to need some basic office and craft supplies. You might already have a few of these tools lying around!
Supplies :
- Pencils
- Good old #2 pencils or mechanical pencils. If you’re not using mechanical, make sure that you have a sharpener!
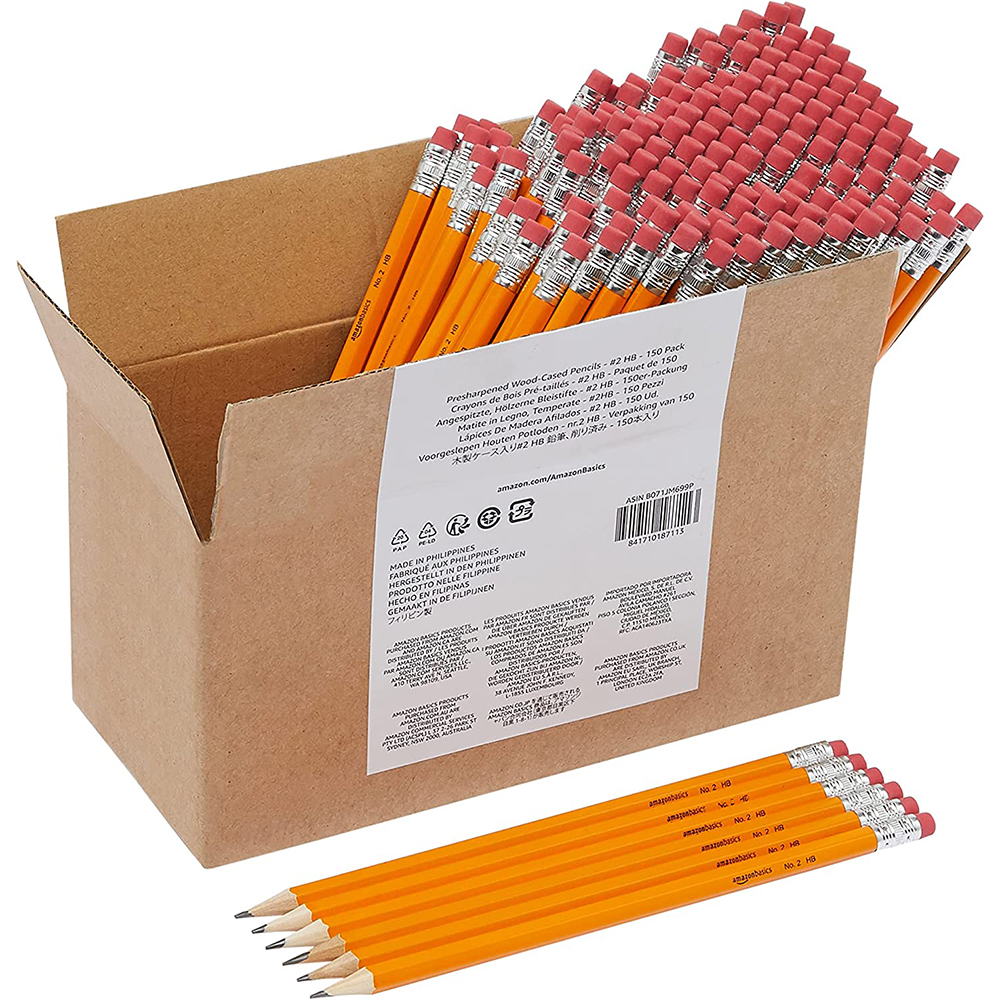 Normal Pencils
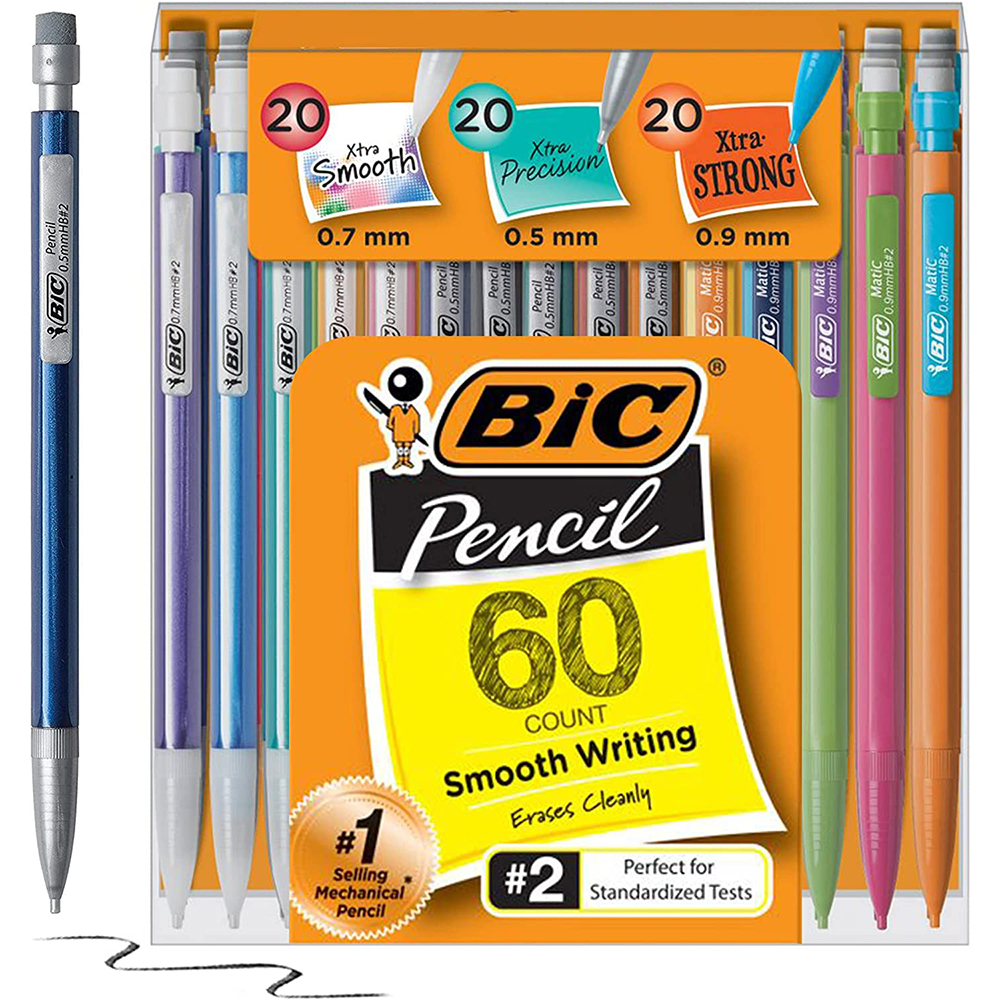 Mechanical Pencils
 Pencil Sharpener
- Sharpies
- Useful for marking things and tracing patterns onto your material.
- Tip: Use metallic sharpies for dark-colored materials like black EVA foam! I go through a lot of sharpies, I usually try to pick up a couple of large boxes when they are on sale instead of buying the smaller quantity packs; more bang for your buck!
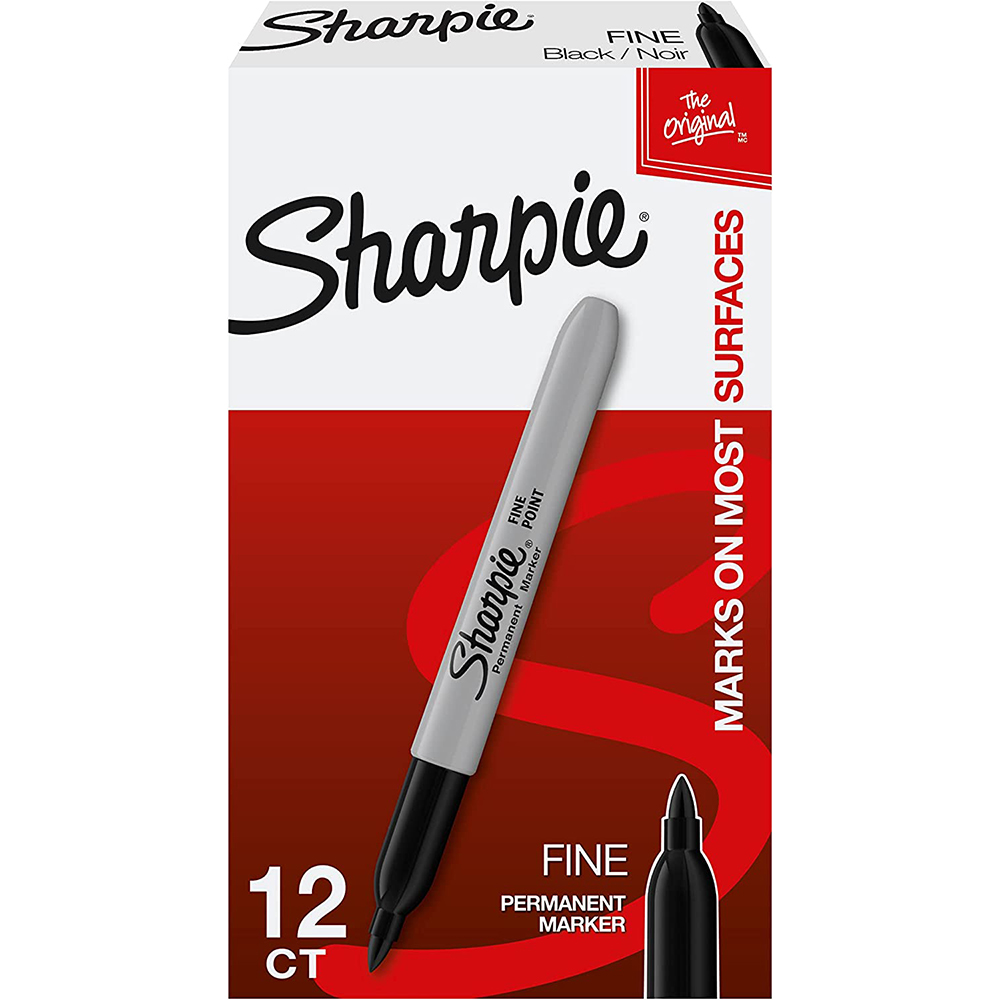 Black Fine-Tip Sharpies
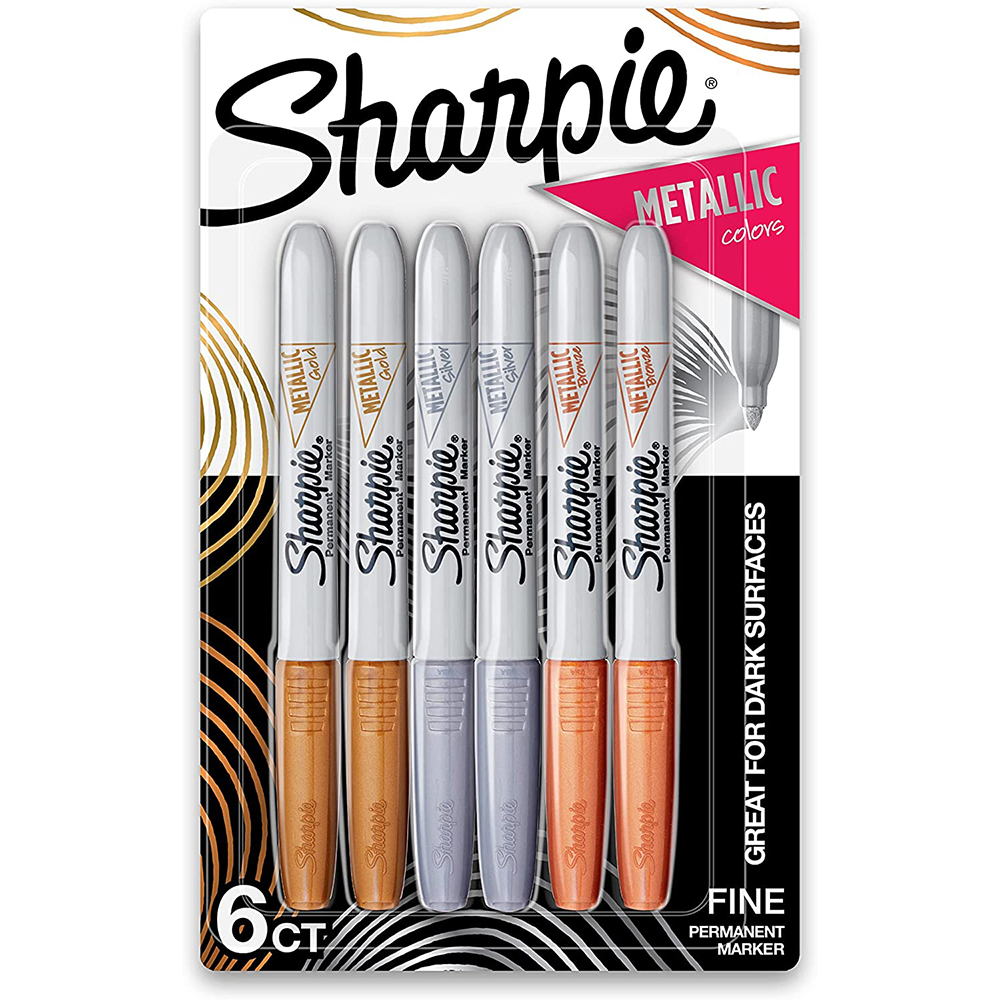 Metallic Fine-Tip Sharpies
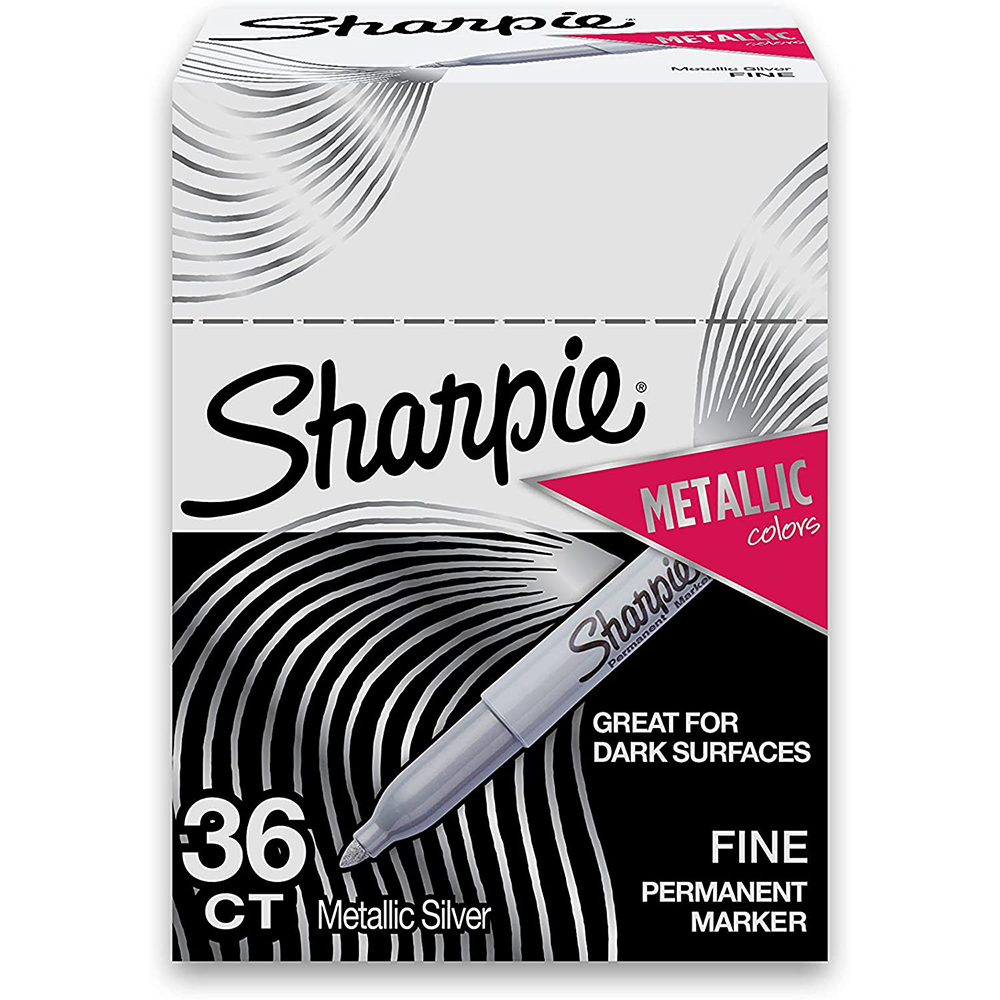 A Bigger Box of Metallic Sharpies
Something to Print With
Whether you are printing out reference pictures, cosplay inspiration, or beautifully-formatted prop patterns you have discovered and downloaded online (hint hint: Check Out My Shop 😉), you are going to want some method for printing them out!
If you are looking to freehand your own original designs and don’t need to print things, that’s awesome! I applaud you: you are an amazing artist!
However, if you want to find premade patterns online and use them, you are going to need access to a printer.
You can print and make copies at :
- Your local library (usually free!)
- UPS or FedEx stores!
- Staples, Office Depot, or other office supply stores!
If you want to invest in having your own printer, a solid, no-bells-and-whistles Brother laser printer is going to run you around $120 on Amazon. I’ve always had great experiences with Brother printers; they last a very long time and do the job efficiently.
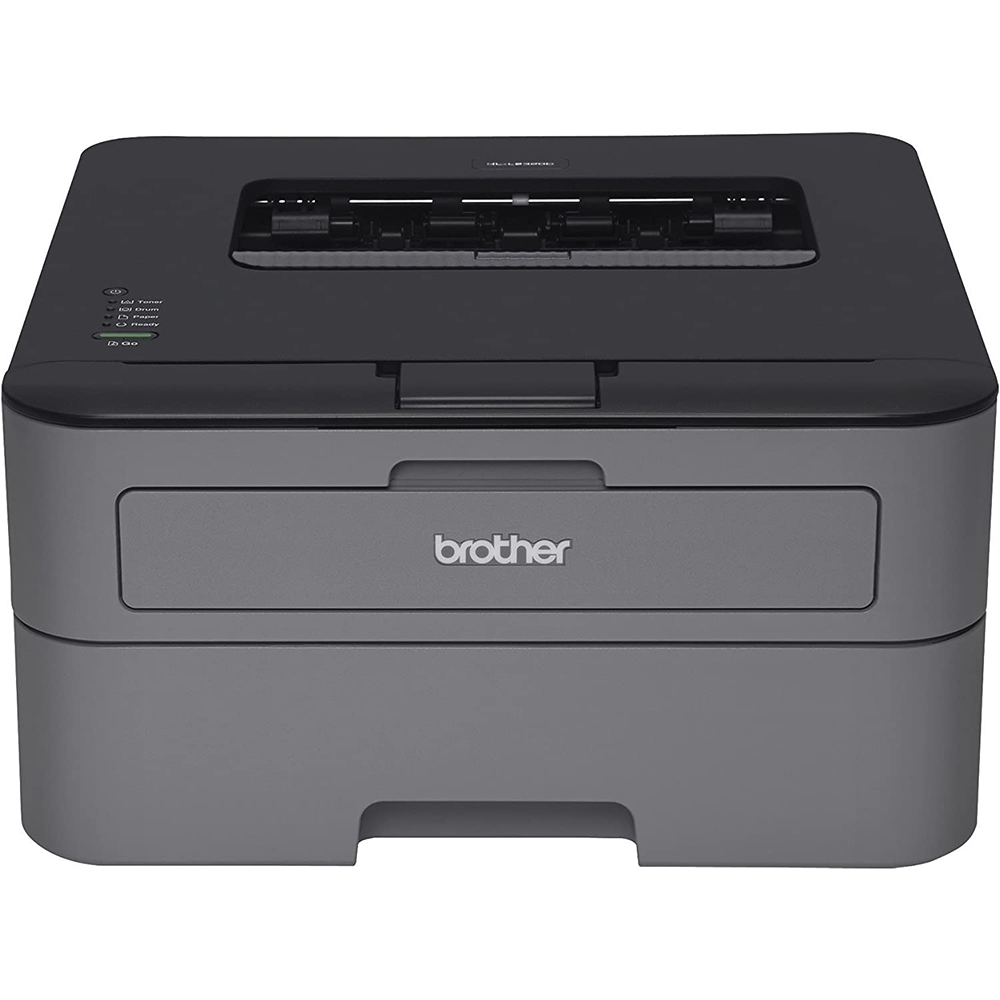 Basic Laser Printer (Brother)
Something to Measure With
If you need to rescale a pattern or you are building something entirely from scratch, you’ll need some way to measure what you are doing!
- Ruler
- You will want something solid and flat to measure lines with and trace straight edges!
- I like using flat, metal rulers, but you can also use 3-sided or plastic rulers. It just depends on what you prefer!
- Rulers are cheap online, you find them easily up to 36″, depending on your workspace and what you need!
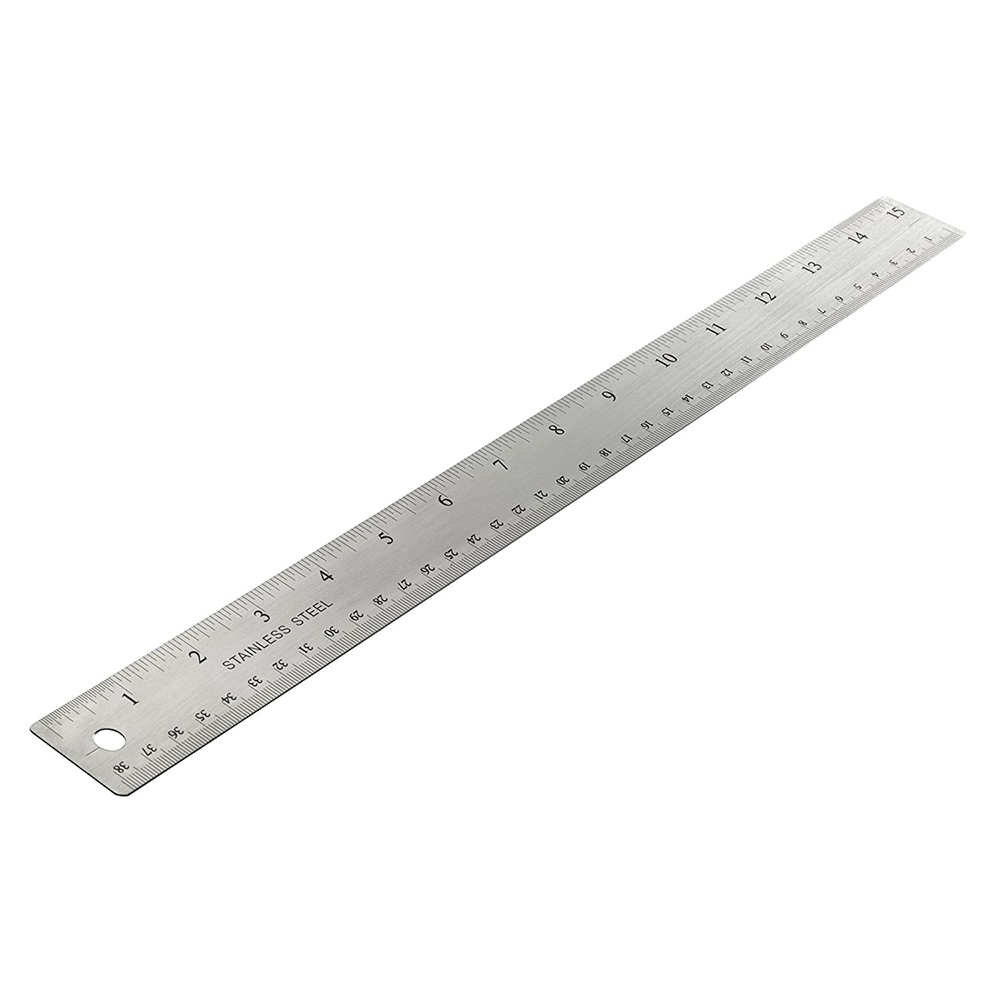 Simple 15″ Metal Ruler
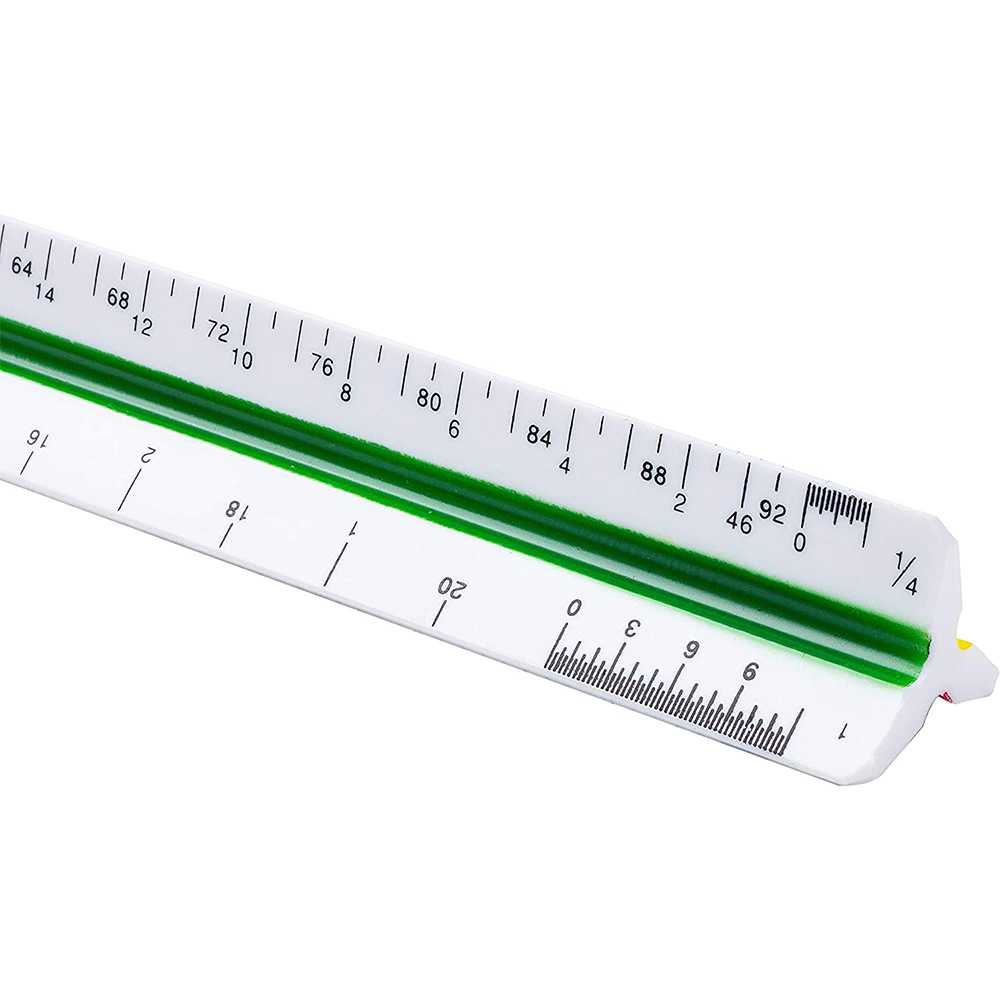 Simple 12″ 3-sided Plastic Ruler
- Right Angles / Protractors / Compasses
- If you are planning on doing a lot of drawing by hand, these tools are very helpful!
- Full-disclosure: I do most of my designing digitally on a computer and do not often use these.
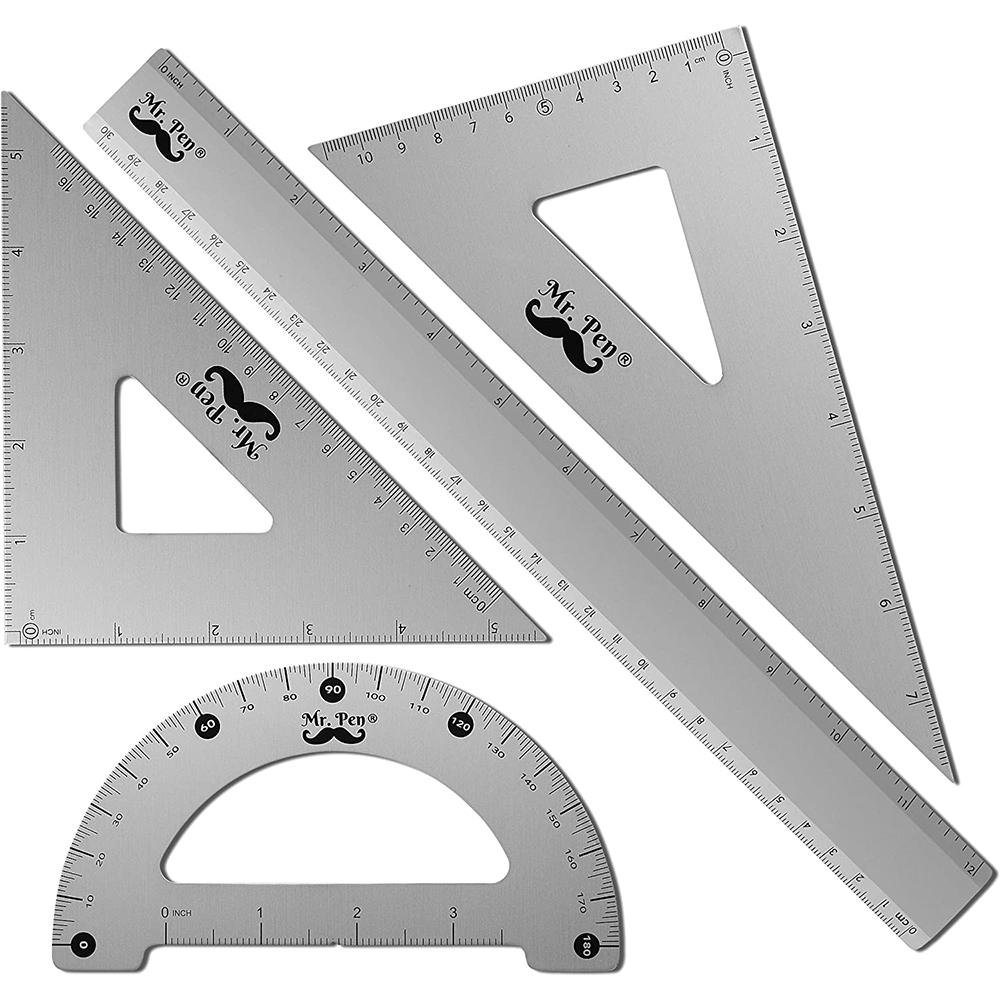 Basic Triangles & Protractor Kit
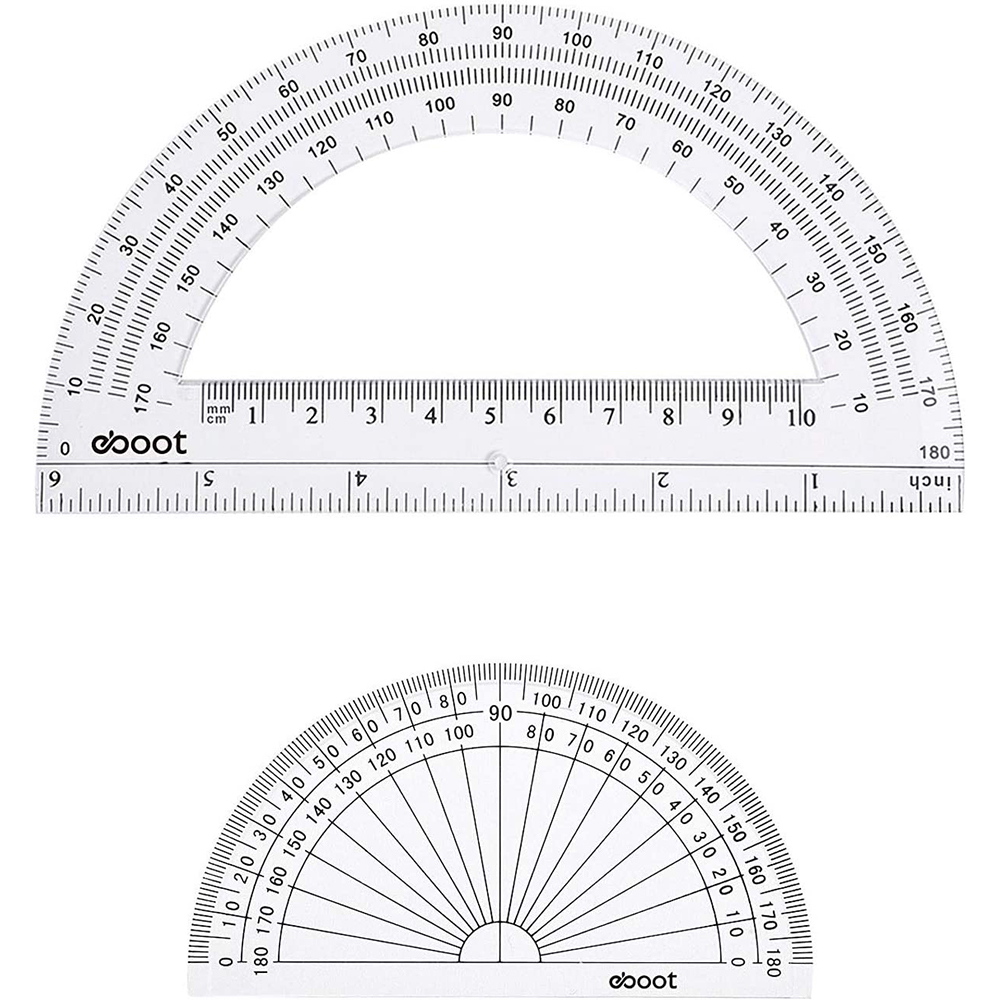 Basic Protractors
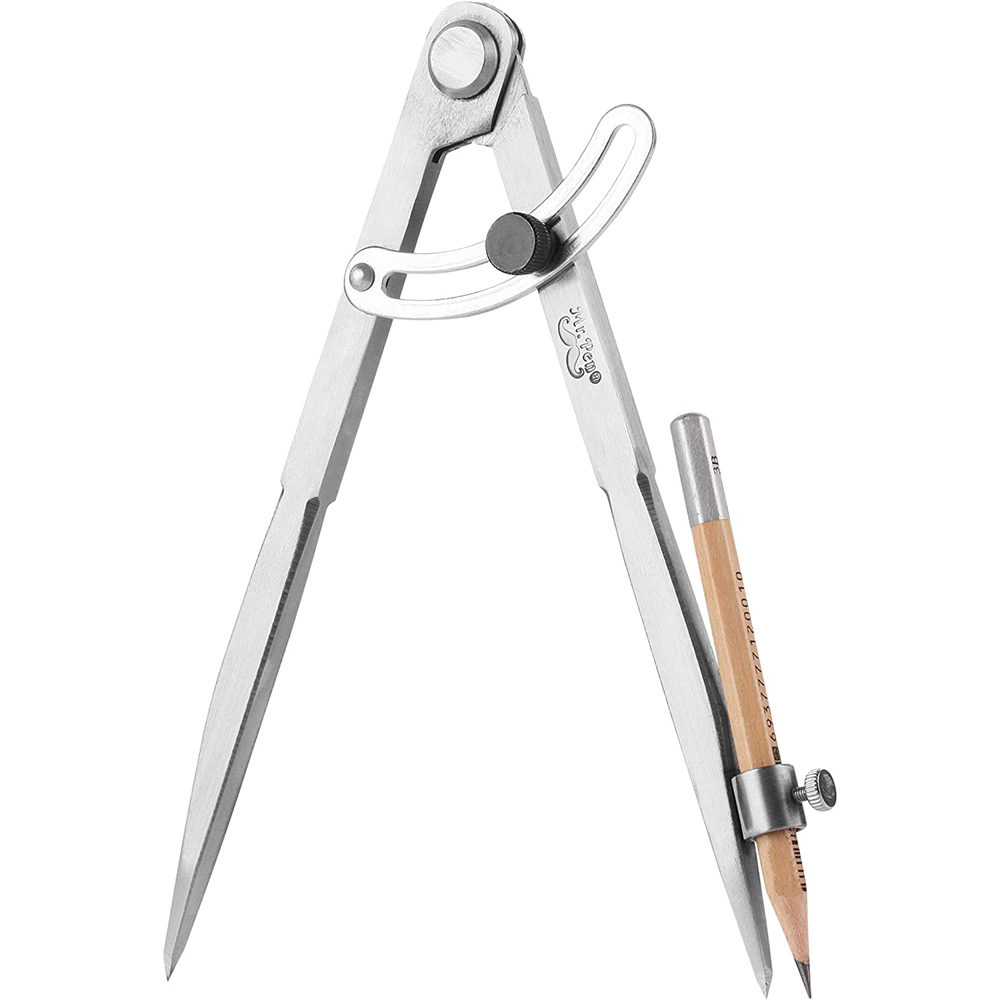 8-Inch Compass (up to 18″ circles)
- Tape Measure
- When you need to measure something longer than a ruler can handle!
- Use a soft tape measure when you need to measure around something 3D, like your body!
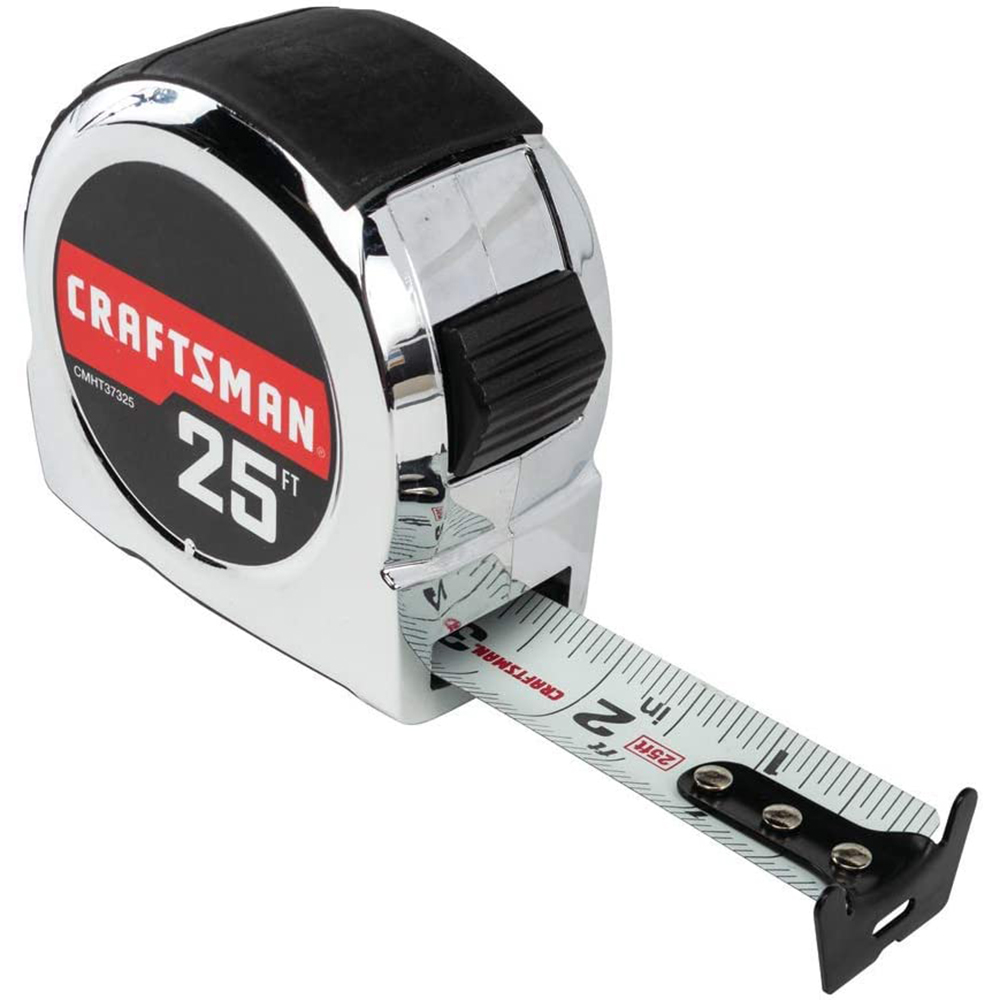 Tape Measure
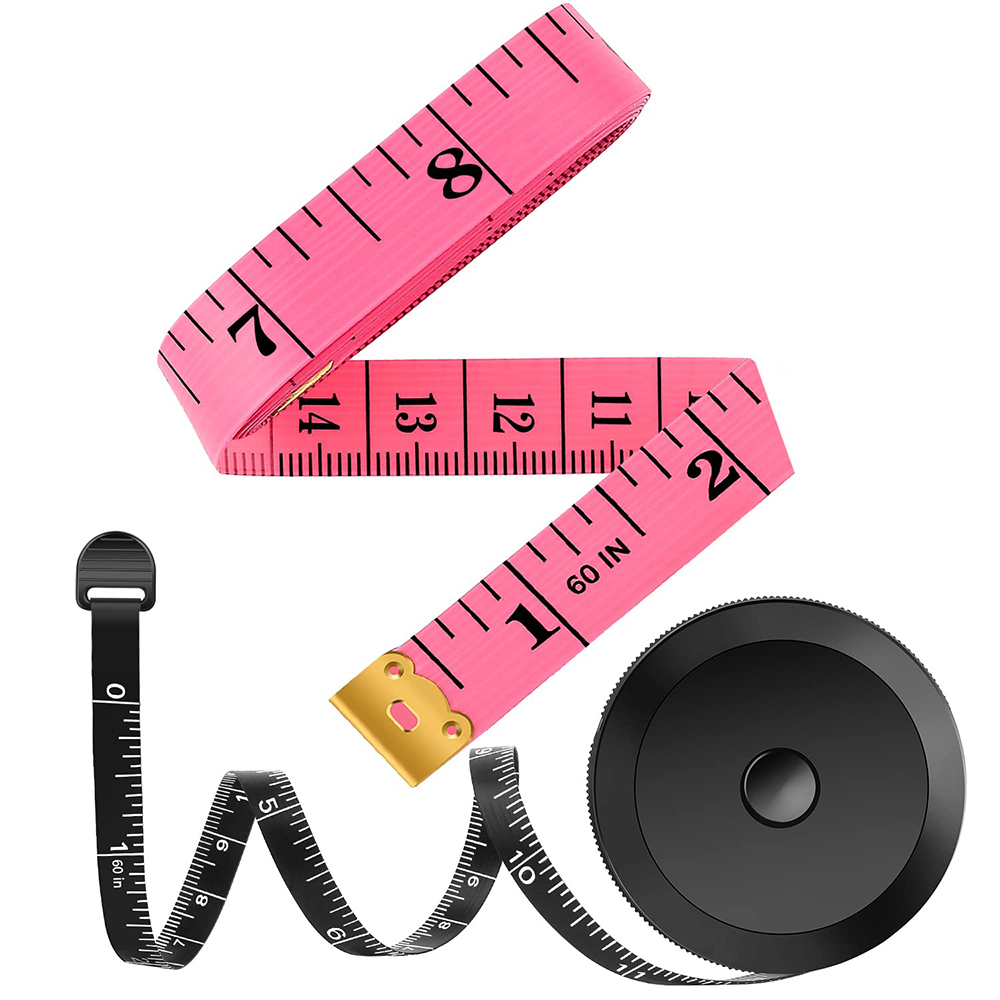 Soft Tape Measure
Something to Cut With
Whatever material you are working with, you need some way to cut it! Different materials require different tools, but these are some all-around great tools to have handy!
SAFETY PRECAUTIONS
- Always cut away from your body.
- Don’t cut something you are holding in your hand. Set it down on a surface (preferably a cutting surface).
- Know where your fingers and body parts are before you start cutting!
- When you are finished cutting, retract the blade (if applicable), and set the knife somewhere it won’t get into trouble (if you have small humans or pets around).
Working with knives and blades is dangerous. These are not toys, but tools. When properly handled and used carefully, there is still risk of injury. Be very careful!
- Cutting Surface
- Absolutely a must have for doing any cutting work! Saves your table / floor from getting all cut up.
- If you have tablespace, get a cutting mat! You can find a whole bunch of custom sizes and colors online, bonus points if it’s self-curing or self-healing!
- If you find yourself moving workspaces a lot, or have a workspace with an uneven surface, you might want to use a solid cutting board! Kitchen cutting boards work great as long as they’re flat.
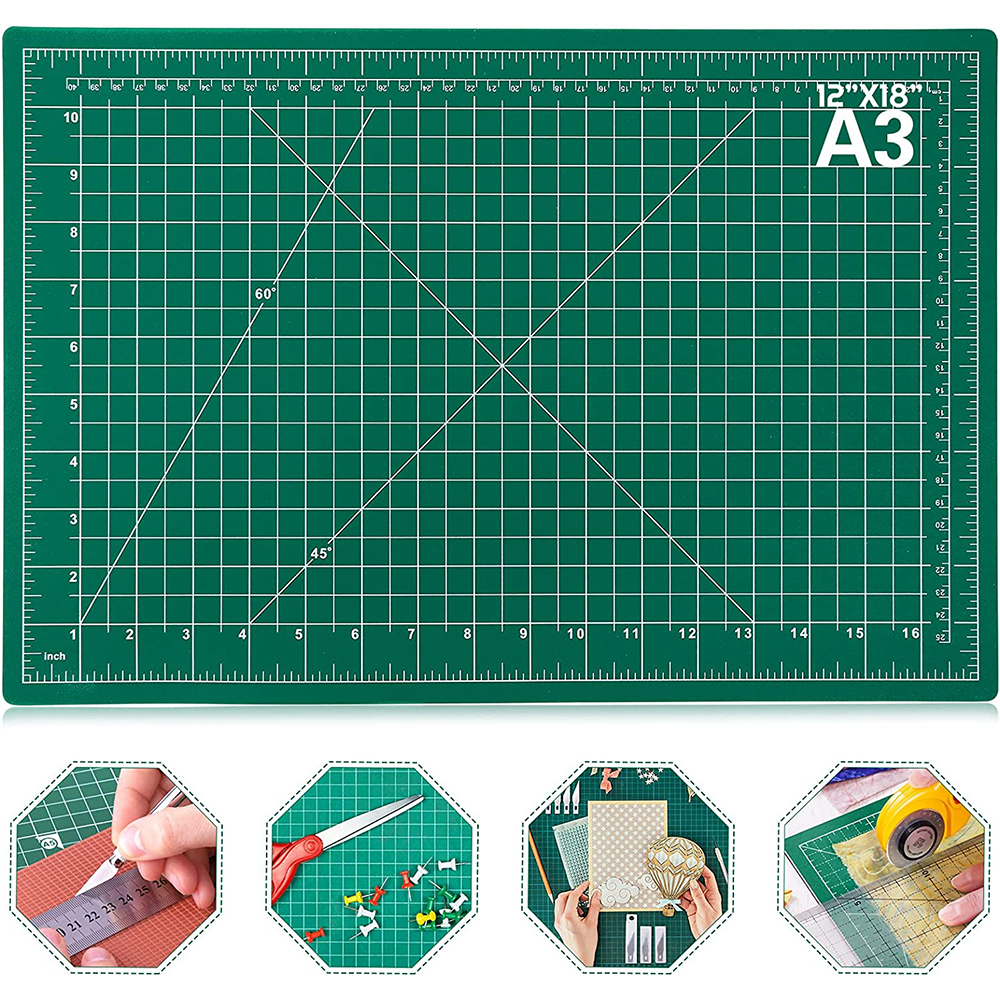 12″ x 18″ Cutting Mat
 11″ x 14″ Kitchen Cutting Board
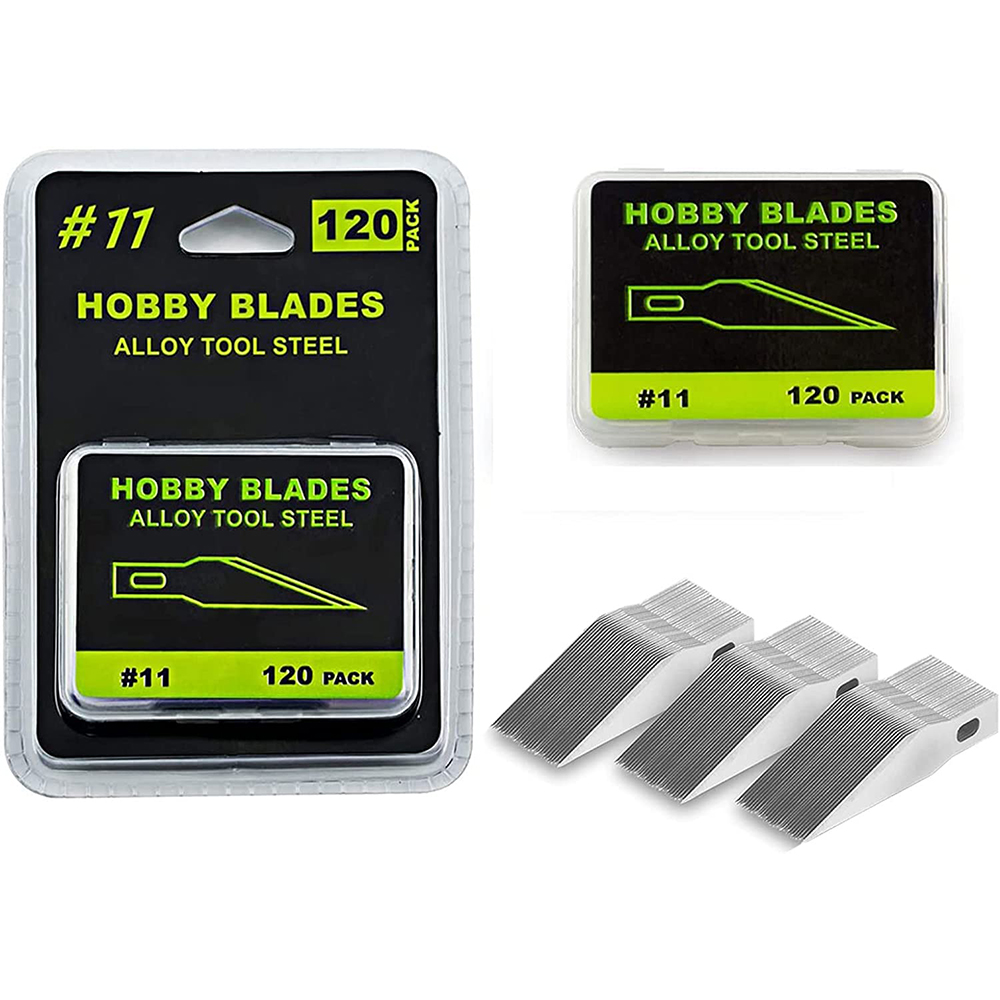
- X-Acto Knife + Blades
- For cutting foam, paper, cardboard, literally anything!
- Do yourself a favor and get one with a bit of cushioning.
- You can find +100-packs of #11 blades for pretty cheap online! Have a bunch, and don’t be afraid to swap out blades when the cuts stop being clean.
- I pretty much exclusively use an X-Acto knife for all of my builds!
- USE: Small area cuts, detail work.
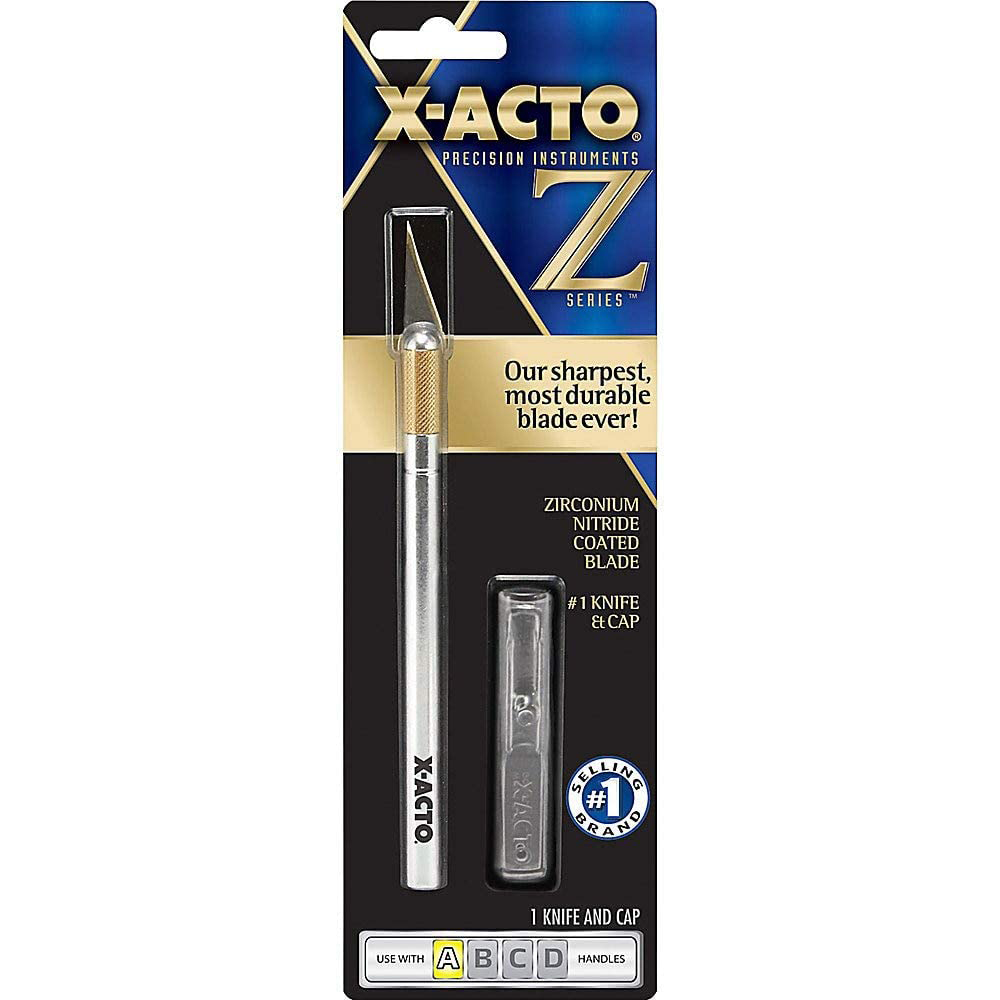 Basic X-Acto Knife
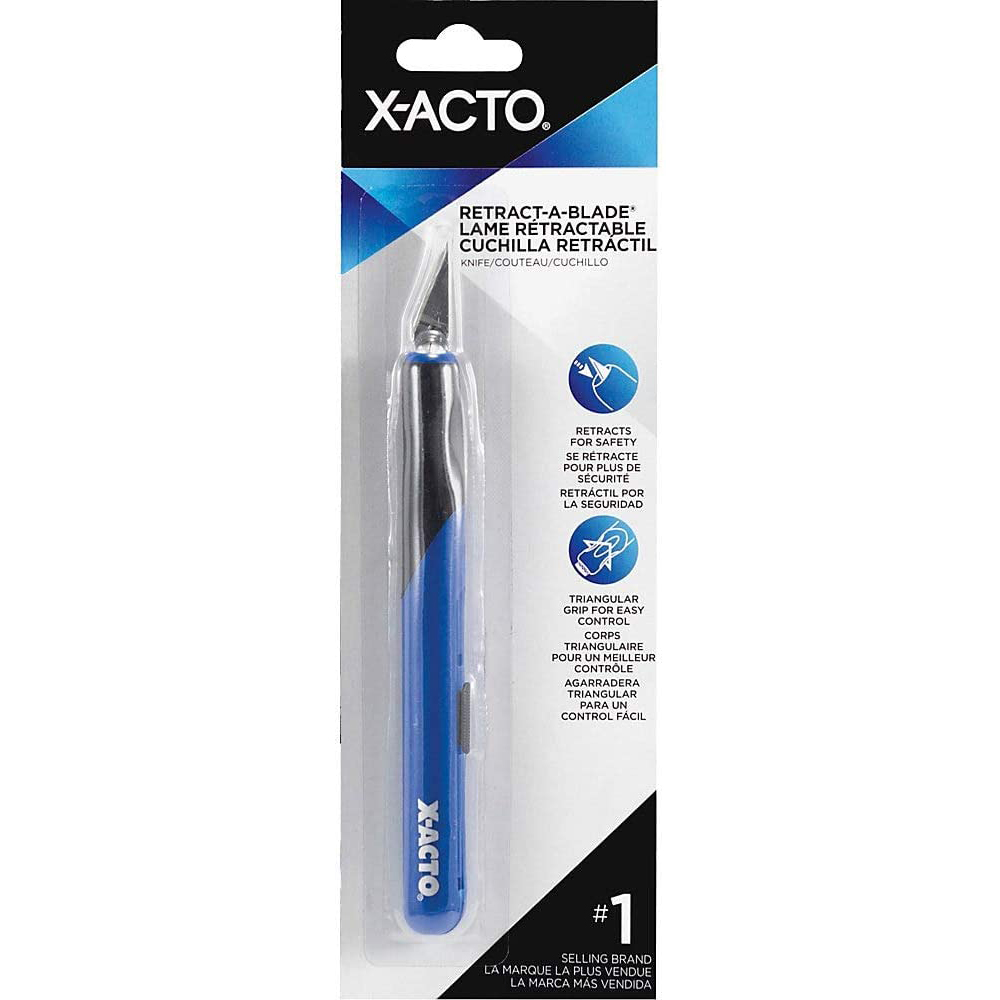 X-Acto Knife with a cushion grip
 X-Acto Blades
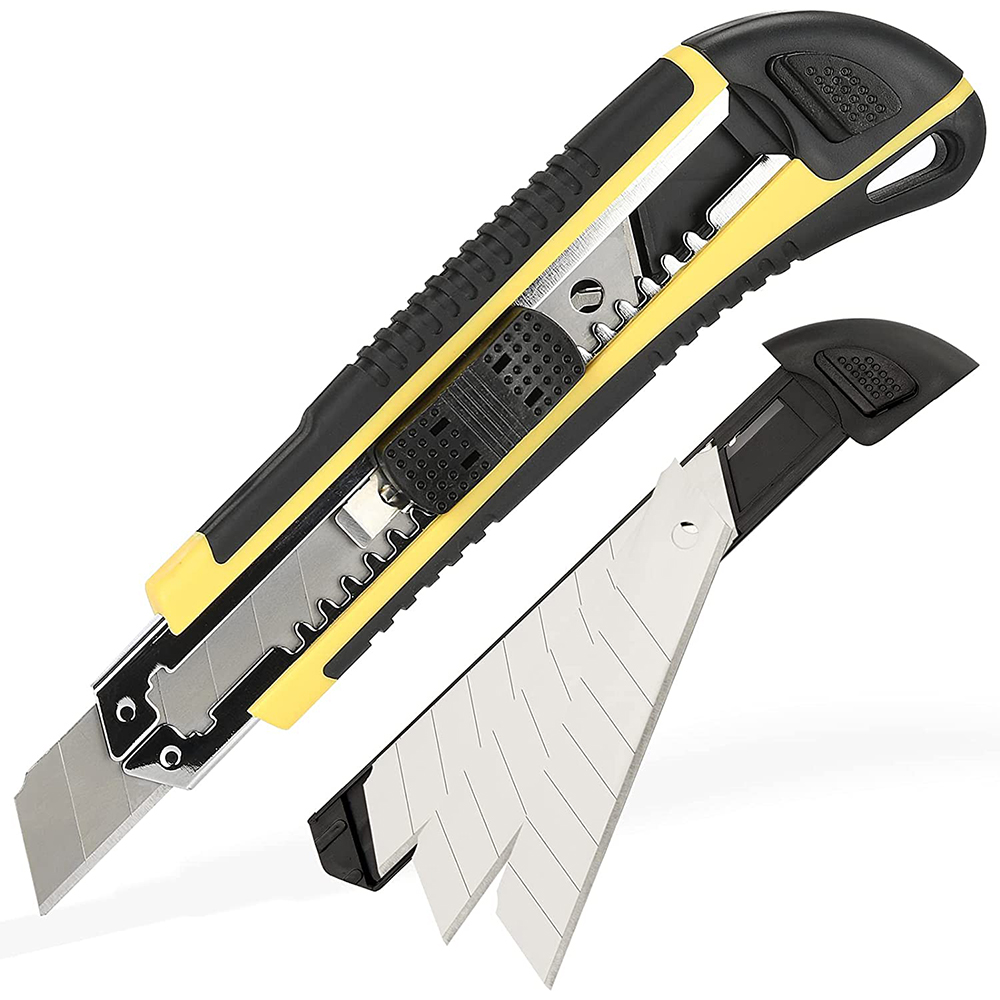
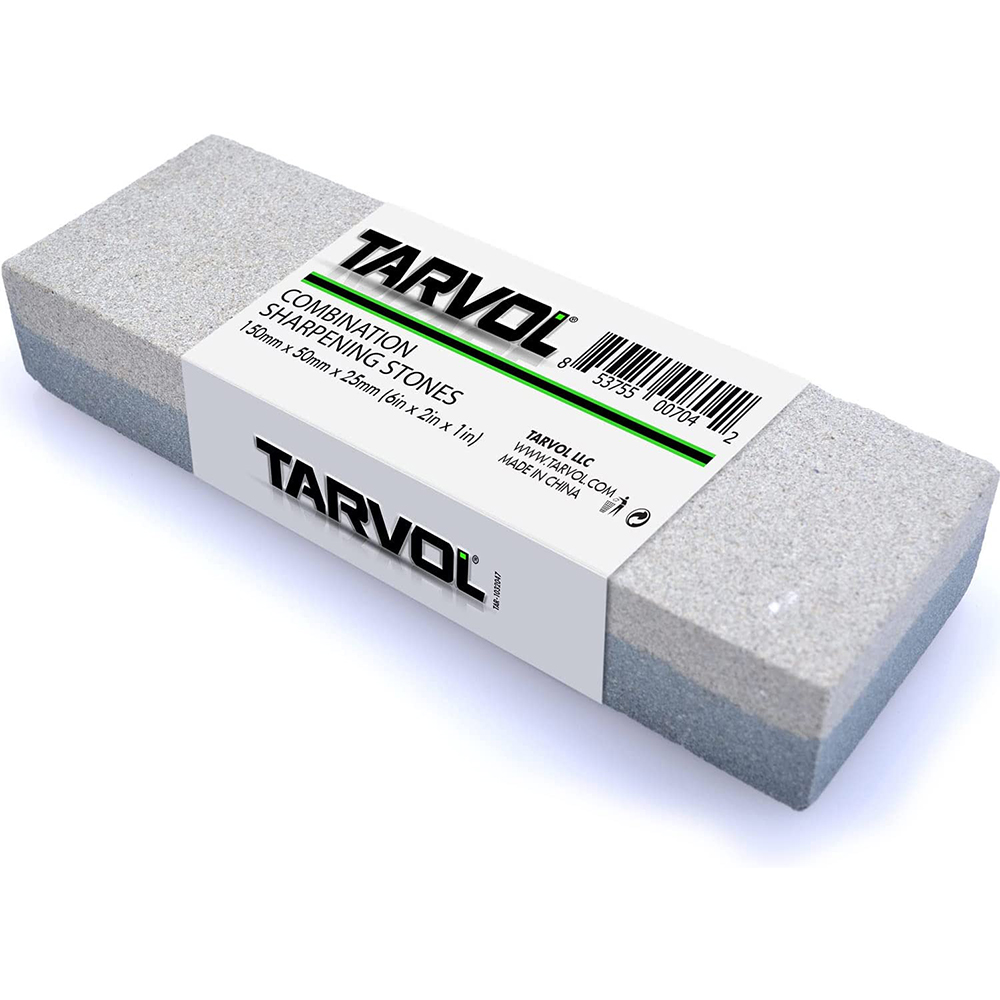
- Box Cutter + Sharpening Stone
- Another option for cutting foam!
- Very effective for cutting out long pieces or thicker materials.
- If you’re going this route, make sure to pick up a sharpening stone to refresh your blade after each use.
- USE: Large area cuts, thick materials
 Basic Retractable Box Cutter
 Sharpening Stone
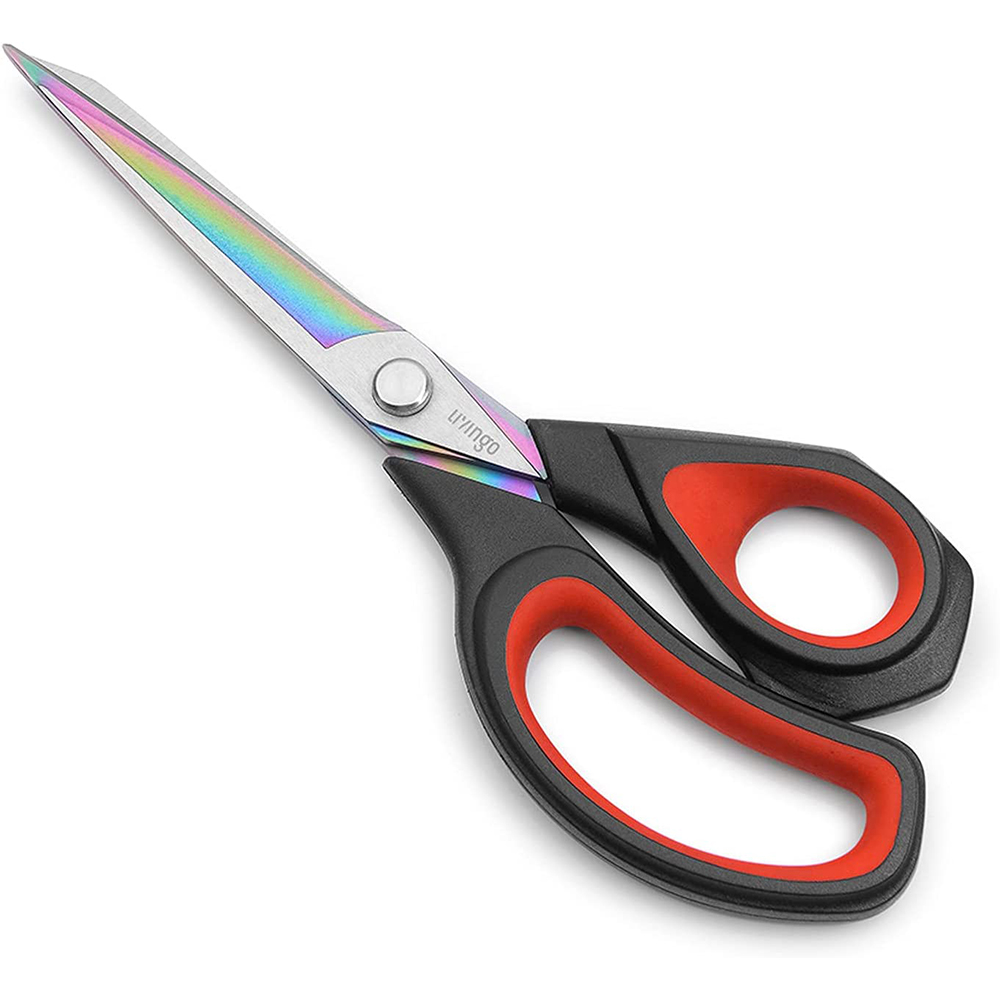
- Scissors
- Just a good thing to have around!
- USE: Cutting patterns, paper, etc.
 Basic Multi-Purpose Scissors
Finish Your Prop!
Whew, that’s a lot of reading! If you’ve made it this far, congrats! You should now have enough basic information to draw or trace out a pattern, measure your prop, and cut your pieces out.
Let’s see what tools you will need to construct and finish a prop in Tools of the Trade: Part 2!
Back to Workshop
Feel free to leave a reply below if you found this helpful! 💕